General Tasks and Project Tables
Make a new Microsoft Access format Project
To make a new Access format Project File:
- Select INPUT | File > New Project or the (new) icon > Clone Data Template…
- Browse to the data template dlst 4.##.gdt, and click Open
- Name the new project file, and click Save
Database Structure
The project database tables are grouped and ordered in a logical way, with borehole-related table groups first in the list, followed by in situ testing, lab testing, and then other tables.
Logo
The logo on all reports is controlled by the field PROJECT.Office. This allows the library to be configured with multiple organisation brandings, and you can easily select the required branding.
See section Configuring Logos in the Library for further details.
Importing Pre-Existing Data from Old Project Structure
It is possible to import data from your old project structure. How easy that will be depends upon if your old structure is similar to those Datgel has developed import correspondence files for. The standard import correspondence files are:
- ags 3.1 rta 1.1 06.2 gint db to dgdt-dlst #.## ##.gci – use with database import to import a AGS RTA project database into a DLST project database.
- gint std ags 3.1 w lab tables to dgd-dlst #.## ##.gci gci – use with database import to import a gINT standard AGS 3.1 project database into a DLST project database.
- gint std australia to dgd-dlst #.## ##.gci gci – use with database import to import a standard Australia gINT project database into a DLST project database.
You can use these with the following gINT features:
- UTILITIES | Convert Projects
- INPUT | File | Import/Export > Import from Database…
- INPUT | File | Import/Export > Batch Import from Database…
One can edit or make new correspondence files in DATA DESIGN | Correspondence Files. It is likely to be cheaper to get Datgel to develop this for you on a consulting basis rather than do this in house, as it is not a skill you will use on a regular basis. This is a native gINT feature, and if you require technical support you should contact your gINT Technical Support provider.
Project table
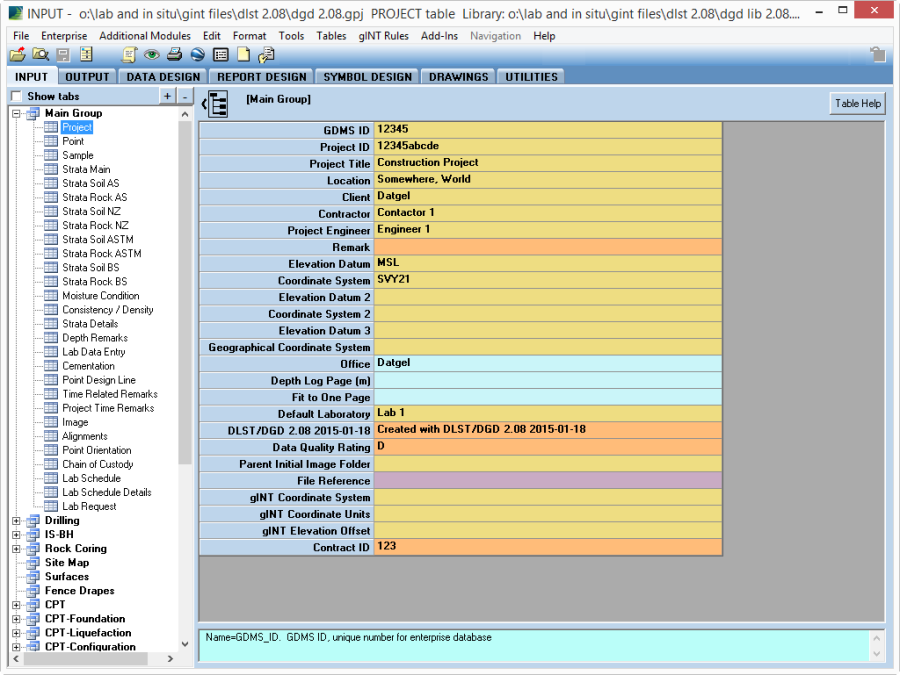
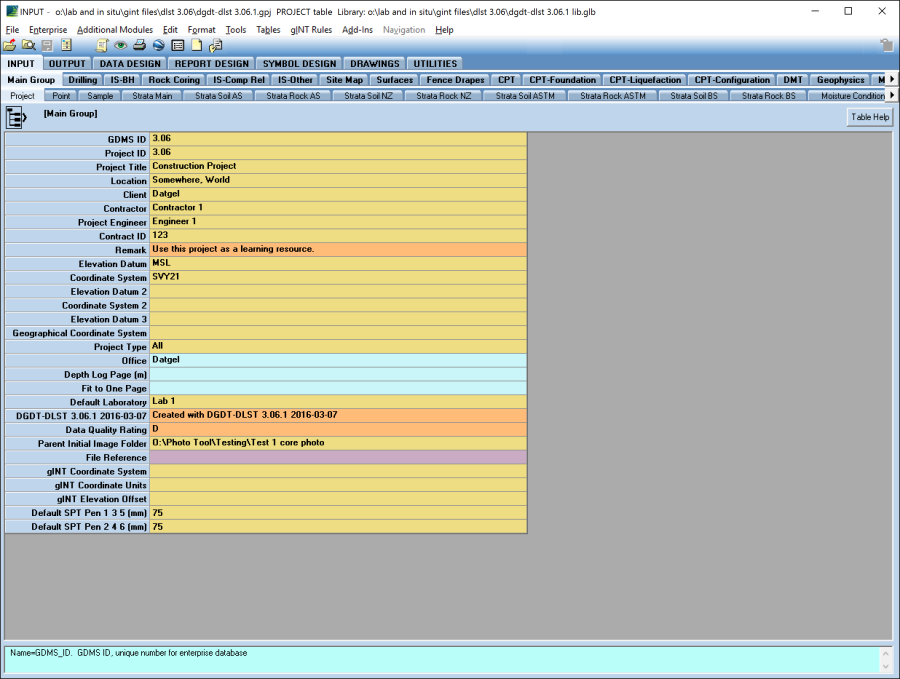
Main Group | Project
The PROJECT table stores general metadata about the project, such as Project_ID, Name etc, and some Lab and In Situ Tool configuration information.
The following fields typically appear on lab test report sheets, and normally should be entered for each project: Project_ID, Project_Title, Location, Client, Contactor, Project_Engineer, Elevation_Datum, and Coordinate_System.
Some other Lab and In Situ Tool Specific fields are:
- Office – this is a look up to the DG_COM_OFFICE library table, and controls project/office specific report settings such as logos.
- Density_of_Water Lab – Used by lab tests as required
- Classification_Standard – defines the standard used for automatic soil descriptions stored on the SPECIMEN table.
- Default Laboratory – the value in this field is used as a default on lab test tables for the Lab Name field.
Point table
This table stores the definition of a sample location, this could be a borehole, test pit, sample from a stockpile or barge etc. You must create a PointID here before moving to the Sample table, and you must provide a Final Depth which can be 0 in the case of a stockpile sample.
You should enter all available metadata for a PointID. For example, East and North which will allow you to produce maps of Point locations.
A number of fields on the Point table are displayed on lab test report sheets. The Type field controls the information that will display in the header of a report sheet.
Fields such as Logged_By, Checked_By etc normally refer to the test pit or borehole logging data, further each lab test table has fields for this type of information which would specifically relate to the given test only.
The fields Specification_Material_1, Specification_Material_2, and Display_Specification_Material_2 On_Reports are explained in section Specification Test Analysis.
Samples and Specimens tables
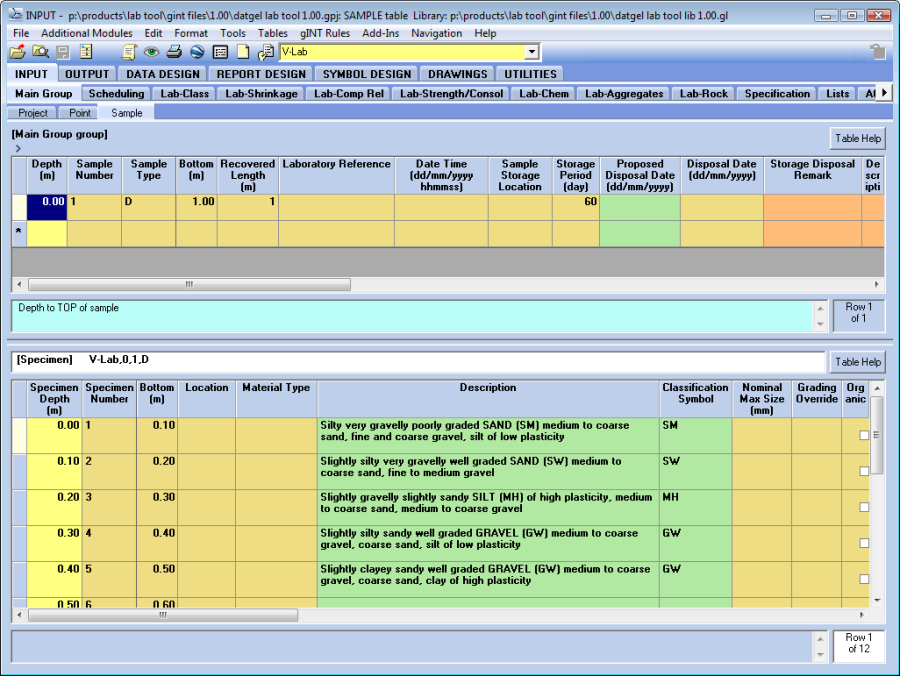
Main Group | Sample
Before entering data for a lab test the parent data in the Point, Sample (upper) and Specimen tables must be entered. The Specimen table is the lower table on the Sample tab.
Each lab test is a one to one child of a Specimen record, such that only one test can be recorded against a given specimen. To undertake a second test on the same sample, you must create a new specimen.
Calculated fields in Specimen table
Specimen Description
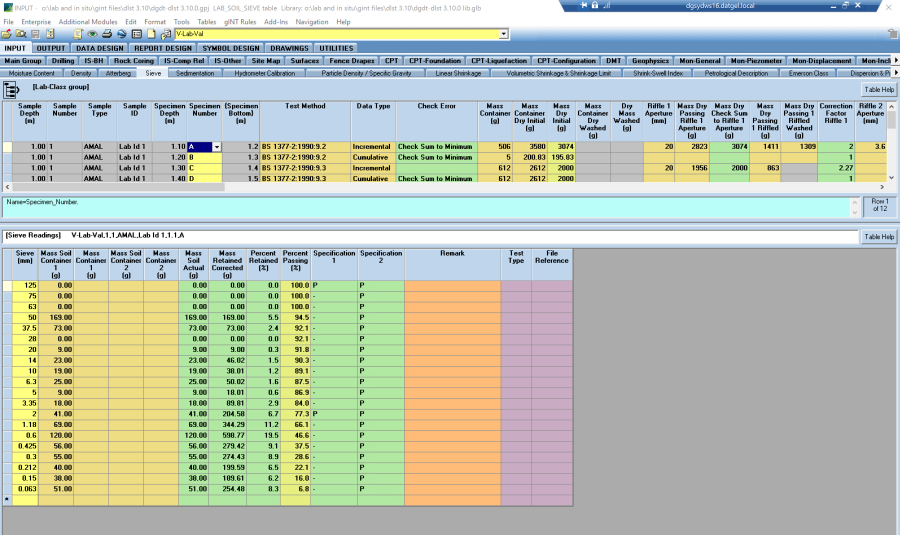
After save for Specimen, Sieve, Sedimentation and Atterberg, the Specimen Description and Classification_Symbol fields will be calculated if the fields are empty.
The description standard is defined on the Project table. If you change the description standard after some descriptions have been defined, you may need to delete the existing Description and Classification_Symbol data, and then recalculate the current table.
If you clear the Specimen.Description and Specimen.Classification_Symbol fields and then click save, the Description and Classification_Symbol will recalculate.
It was designed this way so a manually defined description is never automatically over written by the calculated description.
The concept is that you review the automatic description, make changes, and that is what's used on the final printed lab sheets.
Description Basis
This field will be automatically populated with the tests that have been used to calculate the Specimen_Description.
SIE = Sieve; SED = Sedimentation; ATT = Atterberg
Classification Symbol
Sieve fractions
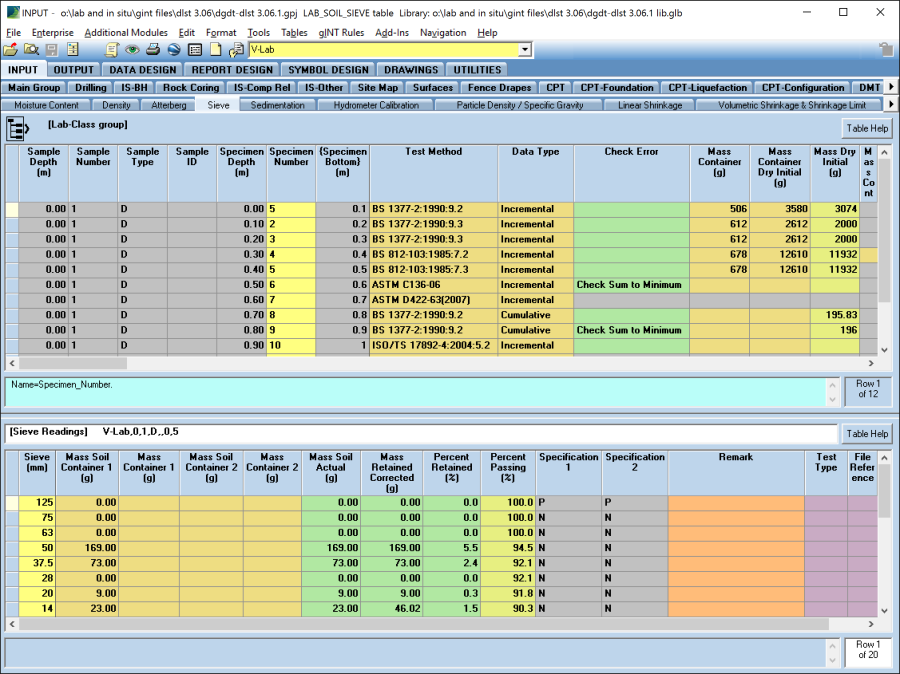
Auto populated fields according Sieve and Sedimentation tests data.
- Clay
- Silt
- Fines
- Sand
- Gravel
- Cobbles
- Boulders
- Cobbles and Boulders
Effective Size
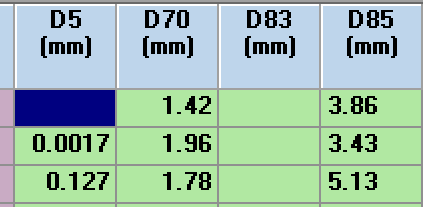
The Specimen table has by default, the following fields: D10, D30, D50, D60 and D100 (mm).
Otherwise, the Lab and In Situ Tool code has the calculation for each 5%. To show other result, you may add a new field (right click on the table and selecting Add a new Field), Name = D## (the number must be a multiple of 5), Type = Double, Units = mm and Cell Colour= Field – Calculated.
Coefficient of Curvature
Coefficient of Curvature calculated according Cc=D302D10∙D60, where Cc is the Coefficient of Curvature and D## is the Effective Sizes
Coefficient of Uniformity
Coefficient of Uniformity calculated according Cu=D60D10, where Cu is the Coefficient of Uniformity and D## is the Effective Sizes
Decisive Particle Diameter
Calculated according dmf=D10+D20+…+D80+D909, where dmf is the Decisive Particle Diameter and D## is the Effective Sizes.
Mean Diameter (Mz)
Median size of sand.
Elevation Top and Elevation Bottom
Elevation of the specimen calculated according the elevation of the PointID recorded in the Point.Elevation field.
In Situ Pore Pressure
Calculated according u0=z-zw∙g, where u0 is the in situ Porewater Pressure, z is the specimen depth (Top), zw is the groundwater level (stored in Point_Options table) and g is the gravity value.
Total Stress
Calculated according σv0=zw∙γb+(z-zw)∙γw, where σv0 is the Total Stress , z is the specimen depth (Top), zw is the groundwater level (stored in Point_Options table), γb is the Bulk Unit Weight (stored in Point_Options table) and γw is the Bulk Unit Weight Saturated (stored in Point_Options table).
Effective Stress
Calculated according σv0'=σv0- u0, where σv0' is the Effective Stress, σv0 is the Total Stress and u0 is the In Situ Porewater Pressure.
Common test related fields
A number of fields are common to all lab tests and these are shown below.
The Tested_By, Processed_By, Checked_By, and Approved_By fields have associated lookup tables stored in the INPUT | Lists table-group.
The Test_Status field is used to define the checking/approval/quality control status of that lab test.
The Lab Name field is by default the value defined in the Project Default_Laboratory field.
File_Reference is related to AGS Format compatibility, and allows you to associate an external file to a test, such as a calibration sheet or photo.
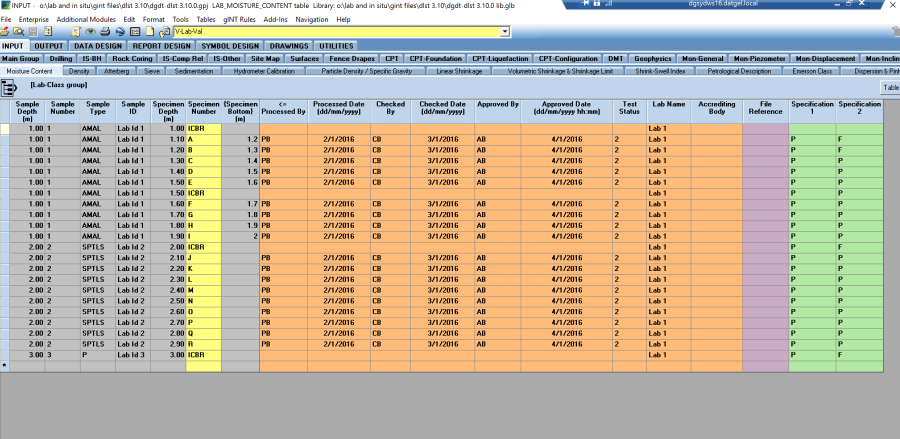
Specification_1 and 2 define if the test satisfied a specified Specification Material requirement.
Specification Test Analysis
Most lab tests have a specification requirement for the fill materials that the tested samples must be compared against. This feature allows the user to define and calculate a specification for each lab test.
Defining a Specification
The specification details for the lab tests are defined on the Analysis | Specification (upper and lower) and the Analysis | Specification_Tests tables.
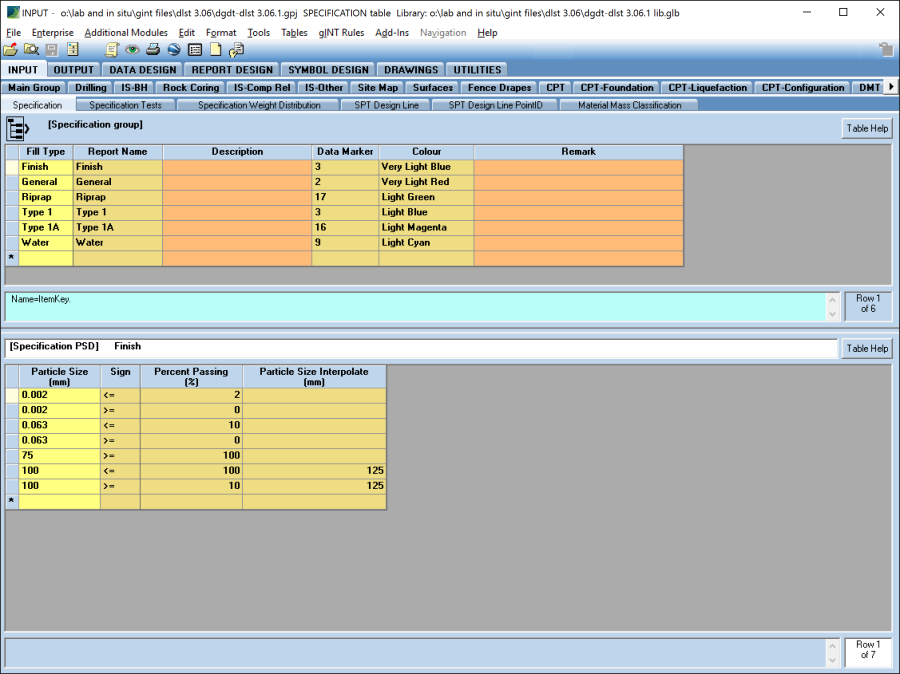
The Specification (upper) table is used to define the metadata and the specific values that each lab test can be compared against. The Data_Marker and Colour fields can also be defined; however it should be noted that these are not linked to the envelopes on the PSD graph reports.
PSD requirements
The Specification (lower) table is used to define the PSD requirements. Where a specified particle size does not equate to a sieve size, then the closest sieve size to the specified particle size should be defined in the Particle_Size_Interpolate field and a log-linear interpolation will be done to determine the result of the Specification_1 and Specification_2 fields in Sieve and Sedimentation tables.
Specification Tests
The Specification_Tests table is used to define the tests requirements. To create a new value for a test to be analysed against, choose the Specification Material from the drop down list. In the Result_Field field, write the reference of the field that contains the result to be analysed (Table.Field). Minimum_Sign, Minimum_Value_Number, Minimum_Value_String, Maximum _Sign, Maximum_Value_Number and Maximum_Value_String fields allows you to set the specification ranges. Specification Field 1 and Specification Field 2 must contain the field where the comparison result has to be written (Table.Specification_1) and (Table.Specification_2). See next figure as an example.
Assessment Based on the Defined Specification
The database can automatically compare each lab test result against two defined specifications. The required defined specifications are selected on the Point.Specification_Material_1 and Point.Specification_Material_2 fields and/or on the Sample.Specification_Material_1 and Sample.Specification_Material_1. The database will calculate the specification results using the Sample.Specification_Material_1 and Sample.Specification_Material_1 if they have a value.
Based on the defined specification, a P (Pass), F (Fail) or N (Not applicable) result will be displayed in the Specification_1 and Specification_2 fields on most of the lab test tables.
Calculate all Specification Checks
After populate the required files, click Save to get the result of the test and sometimes you may need to press F5 to refresh the grid.
To calculate all the Specification Test Results, select Add-Ins > Datgel Lab and In Situ Tool > Calculate All Specification Tests.
Output
The results of Specification / Specification Material checks are displayed on all applicable lab test report sheets. The following summary reports are also present the data.
- Graphic Table Report | A L G GEOTECH SPEC SUMMARY TABLE
- Graphic Table Report | A L R MATERIAL PROPERTY TESTING
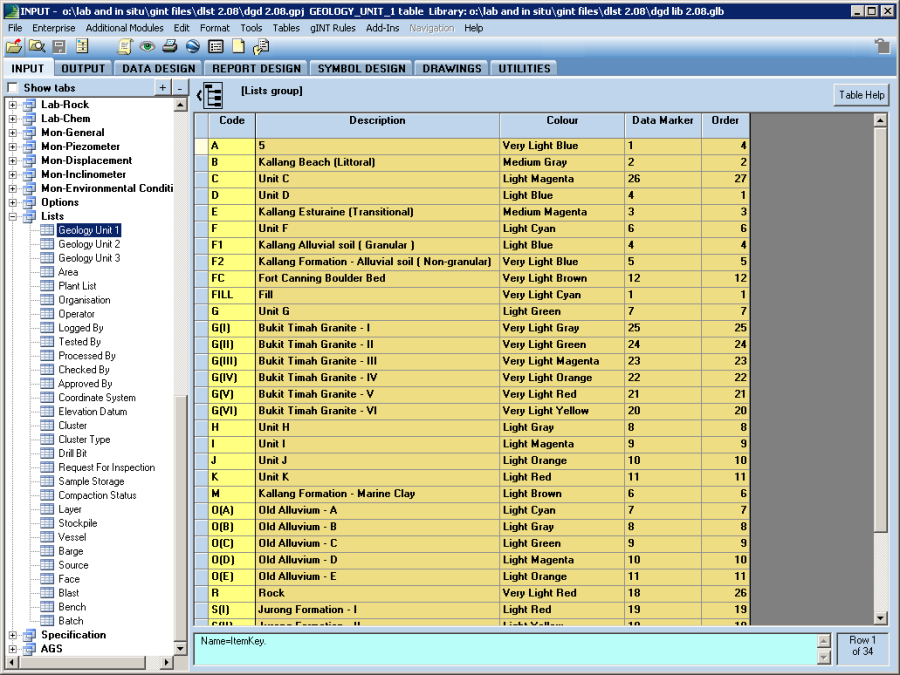
Lists
Lists that you expect to vary between projects are stored in the Lists table group. More fixed lists are stored in the library, as Lookup Lists, Library Data, and Symbols of various types.
Option Tables
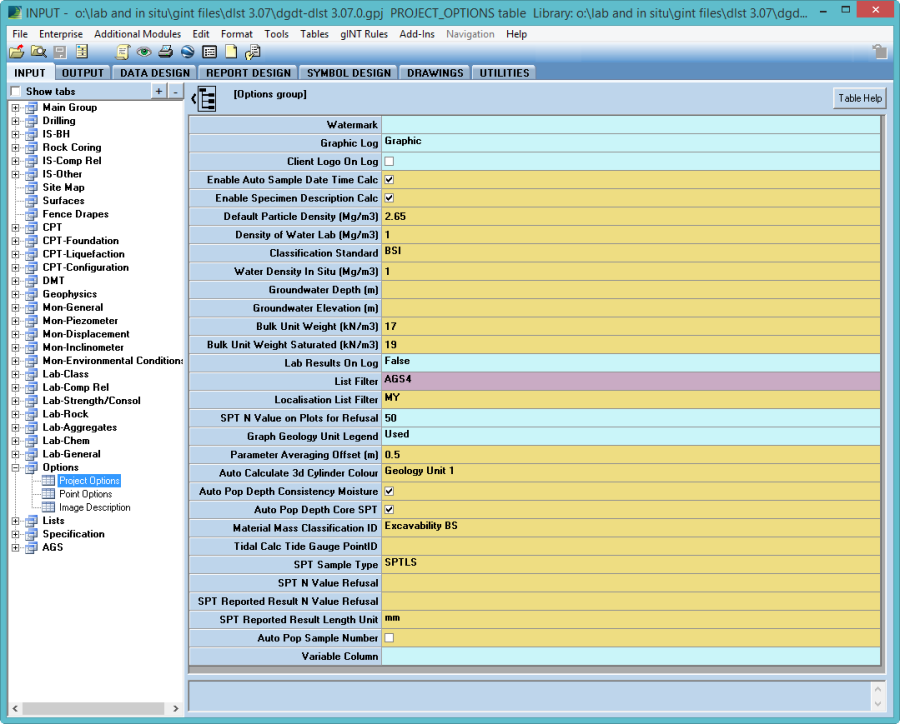
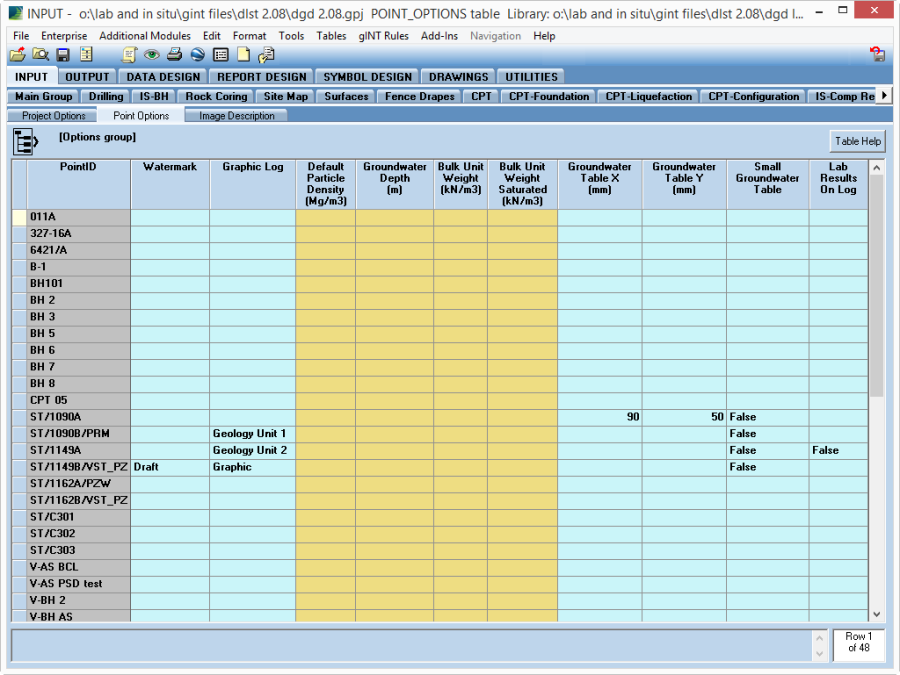
The PROJECT_OPTIONS and POINT_OPTIONS tables are stored under the Options table-group.
If a Point level option is configured, then it will be used in precedence over the Project level option.
The Graphic_Log fields control which graphic source will be used on log reports, the options are:
- Graphic – sourced from STRATA_MAIN.Graphic
- Geology Unit 1 – sourced from STRATA_MAIN.Geology_Unit_1
- Geology Unit 2 – sourced from STRATA_MAIN.Geology_Unit_2
