How create and configure a new CPT Data table
Aim
In this tutorial, you will create a new CPT data related table in the gINT project database, and add configuration to allow the table to work with the CPT Tool.
Creating a New Table
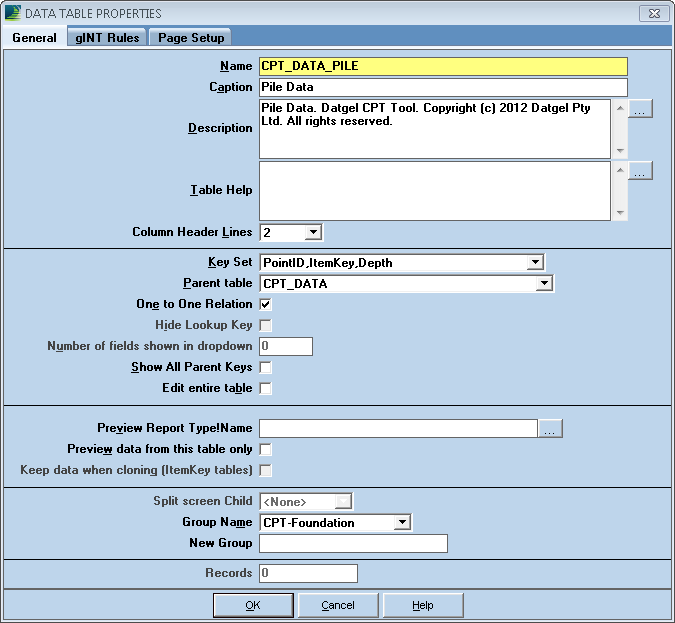
Go to the DATA DESIGN | Project Database tab in gINT to create a new table. The 3 types of CPT Data Tables are explained below. A screenshot of example CPT Data table Properties window is provided as a reference.
After creating the new table, create new fields for the table before proceeding to the next step.
One to One child of CPT_DATA
Each row in this table has a corresponding row in the CPT_DATA table. Data can be written to or read from these tables for CPT custom formula calculations.
To create a One to One Child of CPT_DATA table, set Key Sets to PointID,ItemKey,Depth, Parent table to CPT_DATA and check the One to One Relation check box.
Point Level
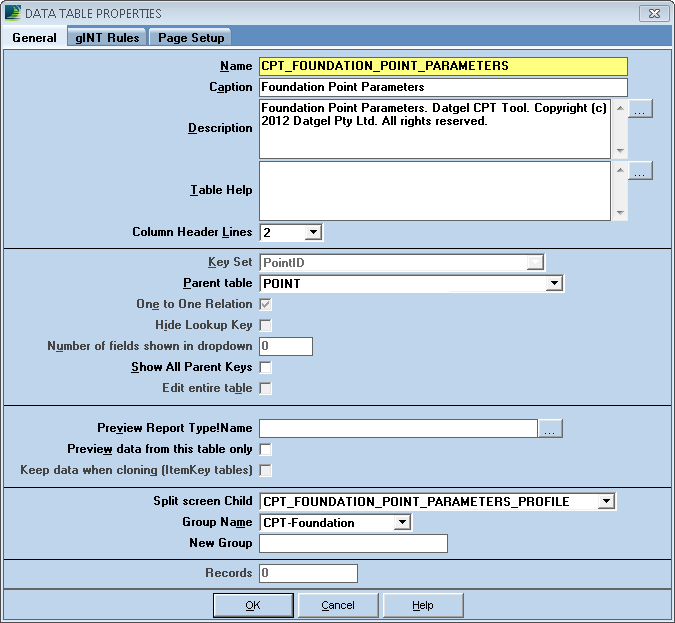
Values stored on a Point Level table are applicable to a specific PointID, noting that a PointID can have one or more CPT Tests. Values can be referenced from these tables for CPT custom formula calculations. Point Level tables can optionally have a split-screen child table, for which values also can be read for use in CPT Calculations.
To create a Point Level table, set Key Sets to PointID, Parent table to POINT.
Project Level
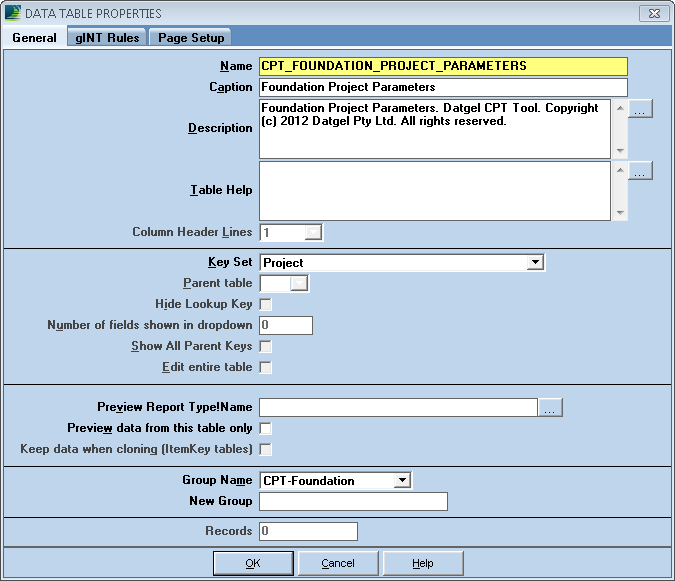
Values stored on a Project Level table are applicable to the current project, which encompasses all PointIDs and CPT Tests. Values can be referenced from these tables for CPT custom formula calculations.
To create a Project Level table, set the Key Set to Project.
Adding the gINT Rules Table Procedures
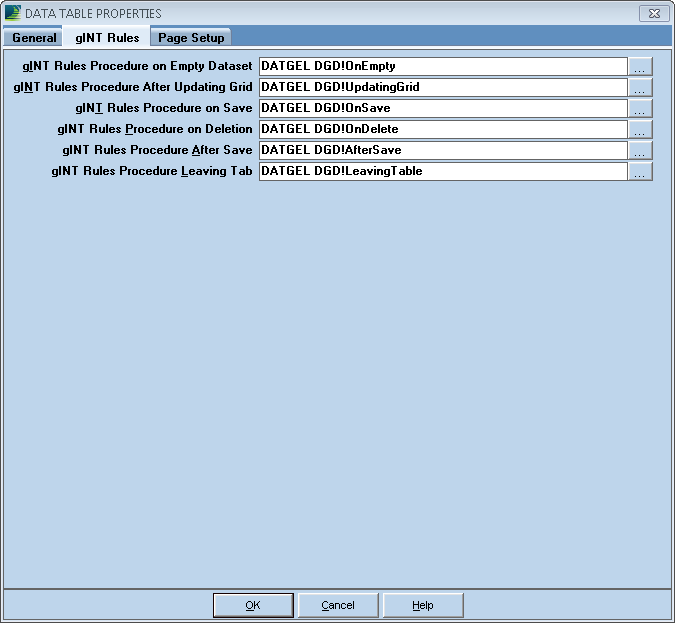
Go to the Properties of the new table, and go to the gINT Rules tab. Add the gINT Rules procedures as per the table below.
Field | Value |
|---|---|
gINT Rules Procedure on Empty Dataset | DATGEL DGD!OnEmpty |
gINT Rules Procedure After Updating Grid | DATGEL DGD!UpdatingGrid |
gINT Rules Procedure on Save | DATGEL DGD!OnSave |
gINT Rules Procedure on Deletion (non-Project level tables only) | DATGEL DGD!OnDelete |
gINT Rules Procedure After Save | DATGEL DGD!AfterSave |
gINT Rules Procedure Leaving Tab | DATGEL DGD!LeavingTable |
Note that the gINT Rules Procedure on Deletion does not apply to Project level tables.
Adding New Records to the CPT_FIELD_MAP Library Table
Configuring this table will allow the CPT Tool to automatically run the calculation on the new table when changed, and the Unit Conversion to convert values in the fields of the new table from one unit to another.
Browse to DATA DESIGN | Library Data tab in gINT. Select DG_CPT_FIELD_MAP from the table drop down list.
You will need to enter one record for the new table and a record for each field on the table. The following section will use a table called CPT_DATA_FOUNDATION which has a field called Pile_Axial_Capacity_Unit_End_Bearing_1.
For the table, enter the following values for the specified columns, leaving the other columns empty.
Column | Value |
|---|---|
Table Name | CPT_DATA_FOUNDATION |
Location | Project |
Change Initiates Calc | Check this option. |
For fields in this table, enter the following values for the specified columns, leaving the other columns empty. See Unit Conversion section 5.5.3.2 for more details on configuring the Unit Conversion related columns.
Column | Value |
|---|---|
Table Name | CPT_DATA_FOUNDATION |
Field Name | Pile_Axial_Capacity_Unit_End_Bearing_1 |
Location | Project |
SI | MPa |
English | tsf |
Decimals Displayed (SI) | 3 |
Format Type (SI) | Decimal Format |
Decimals Displayed (English) | 1 |
Format Type (English) | Decimal Format |
Adding gINT Rules Code to Reference the New Table
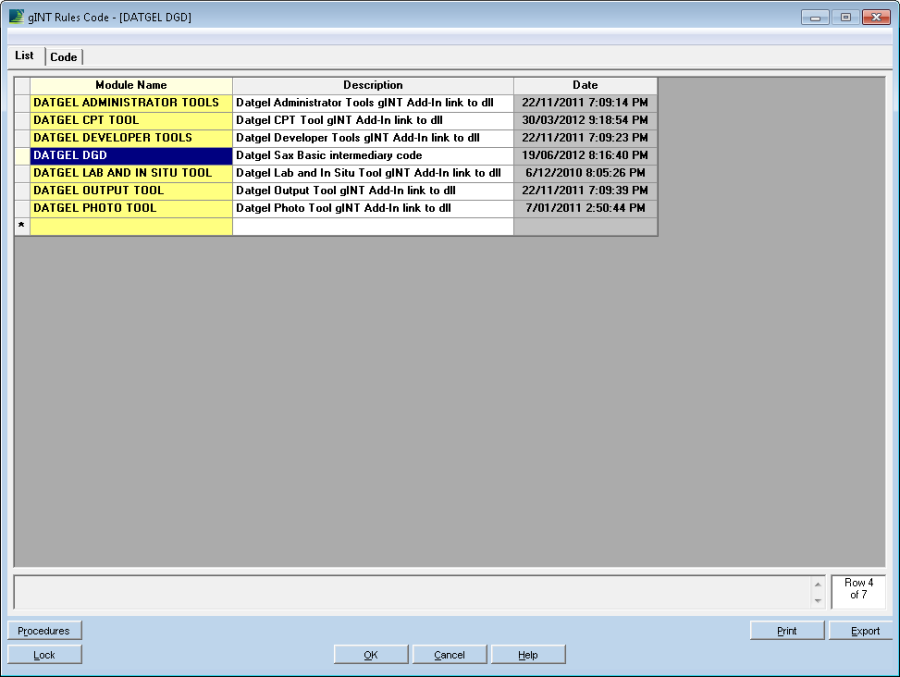
Browse to gINT Rules > gINT Rules Code from the top Menu. On the List tab, select Datgel DGD then click on the Code tab.
Add the following Constant for the new table, at the desired row. Note that the constants are ordered in an alphabetical order.
The example below is for a table named CPT_DATA_FOUNDATION. You must repeat these steps for each new table. It is recommended that you keep to the naming convention for naming constants.
Naming convention is as below:
Public Const gs_Table_<<Table Name>> as String = "<<Table Name>>"
Applying the convention for the current example, the code should look like this
Public Const gs_Table_CptDataPile As String = "CPT_DATA_FOUNDATION"
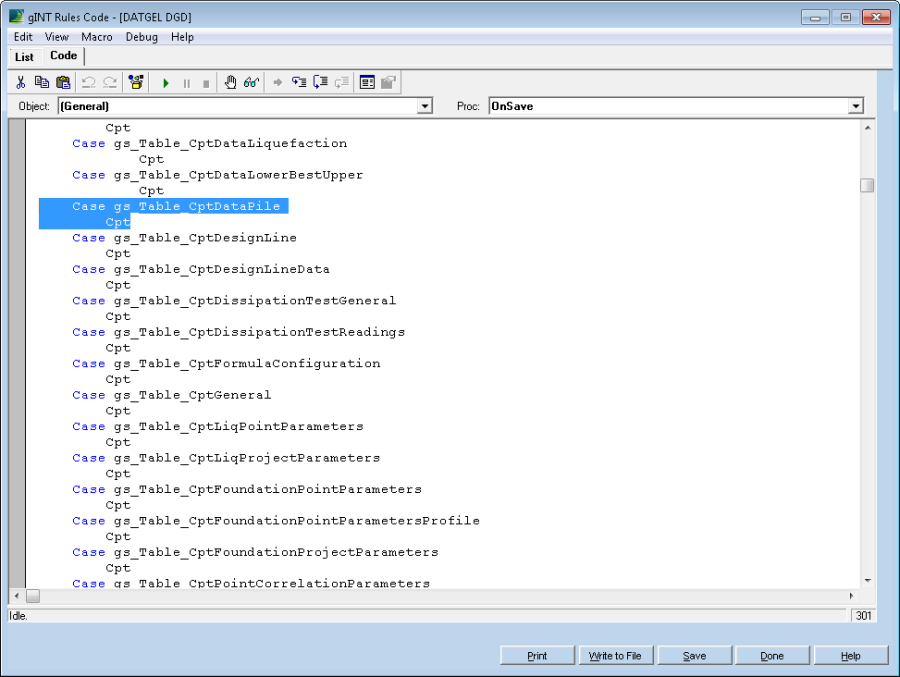
Your screen should look something like this:

If the table is a One to One Child, Point Level or Project Level, you must add a reference to the table in the Case statement in the OnSave procedure.
From the Proc drop down list, select OnSave. This should jump to the beginning of the OnSave sub. Within the Case statement, add the following code:
Case gs_Table_CptDataPile
Cpt
If the table is a One to One Child, you must add a reference to the table in the Case statement in the AfterSave procedure.
From the Proc drop down list, select AfterSave. This should jump to the beginning of the OnSave sub. Within the Case statement, add the following code:
Case gs_Table_CptDataPile
Cpt
Click Save.
Colouring the Change Initiates Calculation Fields to Pastel Beige
If changing a value in a field on your new table is to initiate the CPT calculation, the colour of the field must be set to Pastel Beige.
Go to DATA DESIGN | Project Database tab, and select the table from the drop down list. Select the field from the Fields list, then set the Cell Colour to Field – Calculated. Click OK.
Set the Cell Colour to Field – Calculated for any other fields you wish to initiate the calculation upon the value changing.