Client Application and gINT User Files
The steps described in this section are done client PCs running gINT.
Before Installation
A few basic preparations can help ensure an effortless installation.
- Make sure that the computer where you plan to install the program meets the minimum hardware and software requirements.
- Connect your PC to the Internet before installation (must have a working Internet connection).
The DSTE requires that the Microsoft .NET 4.5.1 framework is installed on the PC prior to the installation of the Tool. If your PC does not have this, then it will be automatically downloaded and installed during the Tool installation process.
- Log into the PC with Administrator privileges before starting the installation.
- It is recommended that you exit out of other applications that may be running on your PC.
- Close gINT before you start the installation.
- Keep the serial number and license number handy.
Install DLL Programs
Complete this step on ALL PCs running gINT.
- Extract the ZIP download, and Browse to the folder \Installation Files
- Double click the file named Setup.exe
- Click Run to begin installation and run through the standard wizard.
Merge gINT Library Objects
The following steps to merge the gINT Library components into your Library file is generally done one for your organisation, and the library can be stored on a file server and used by many PCs or copied to many PCs.
- Make a backup copy of your existing library file. By default this is located at:
C:\Users\Public\Documents\Bentley\gINT\libraries - Start gINT and open the library and project file you wish to use with Datgel Security Tool Enterprise gINT Add-In.
The opened project and library files are displayed at the top of the gINT Window.
- Select UTILITIES > Lib Merge/Copy.
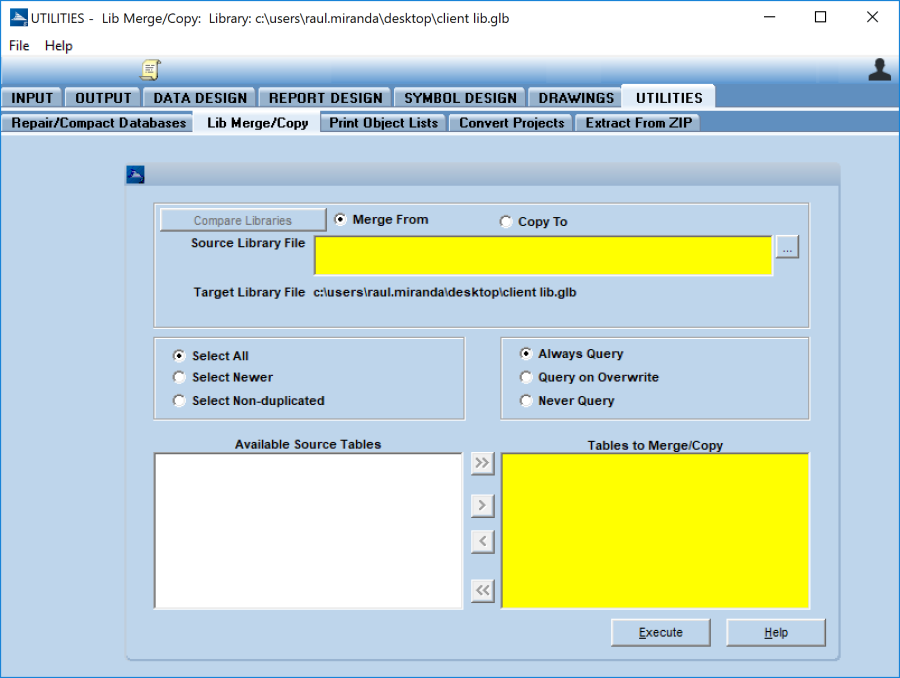
- Check the bullet that reads Merge from.
- In the Source Library File pane, browse the ZIP download for file Datgel Security Tool Enterprise ##.# lib.glb where ##.# is the version number.
- Check the bullet that reads Select All.
- Check the bullet that reads Query On Overwrite.
- Click
 button to move all tables from the Available Source Tables pane on the left to the Tables to Merge/Copy pane on the right side.
 - Click Execute.
Take care to read the overwrite dialog and click Yes if you wish to overwrite the file, ELSE click No.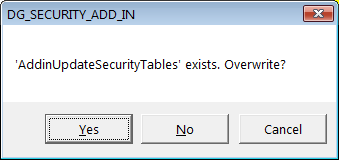
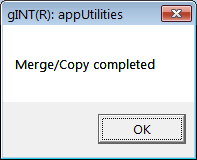
This will merge in the security tables listed in the introduction, the Add-In menu item, and gINT Rules modules which are all related to the Tool. - Click OK to finish the merge.
Merge gINT Project Tables and Fields
Make a backup copy of your existing project file. If it is an Access file by default this is located at: C:\Users\Public\Documents\Bentley\gINT\PROJECTS
- Start gINT and open the library and project file you wish to use with Datgel Security Tool Enterprise.
- Select DATA DESIGN > Project Database.
- Select File > Open File > Current Project… to open your current project file.
- Select PROJECT Table from the yellow drop-down list.
- Select Tables > Merge Fields from Other Files... then browse the ZIP download and select the file Datgel Security Tool Enterprise #.##.gpj
Click Open. - Browse and select the table Project table.
- Click Open to see a list of available tables.
- Select PROJECT and click OK.
- Select the Linked_Project fields and click OK.
- Click Save.
This will merge the fields required for the linked database function and the hide by project scenario type function to the Project table.
Other tables and fields in Datgel Security Tool Enterprise #.##.gpj are provided as examples and don't need to be merged into your project file.
Validate License
After installation (and before using the Security Tool Enterprise Add-In), validate the user license as described in Validate License.
You only need to validate this product when you run the DSTE in gINT for the first time.