How to change a logo in gINT
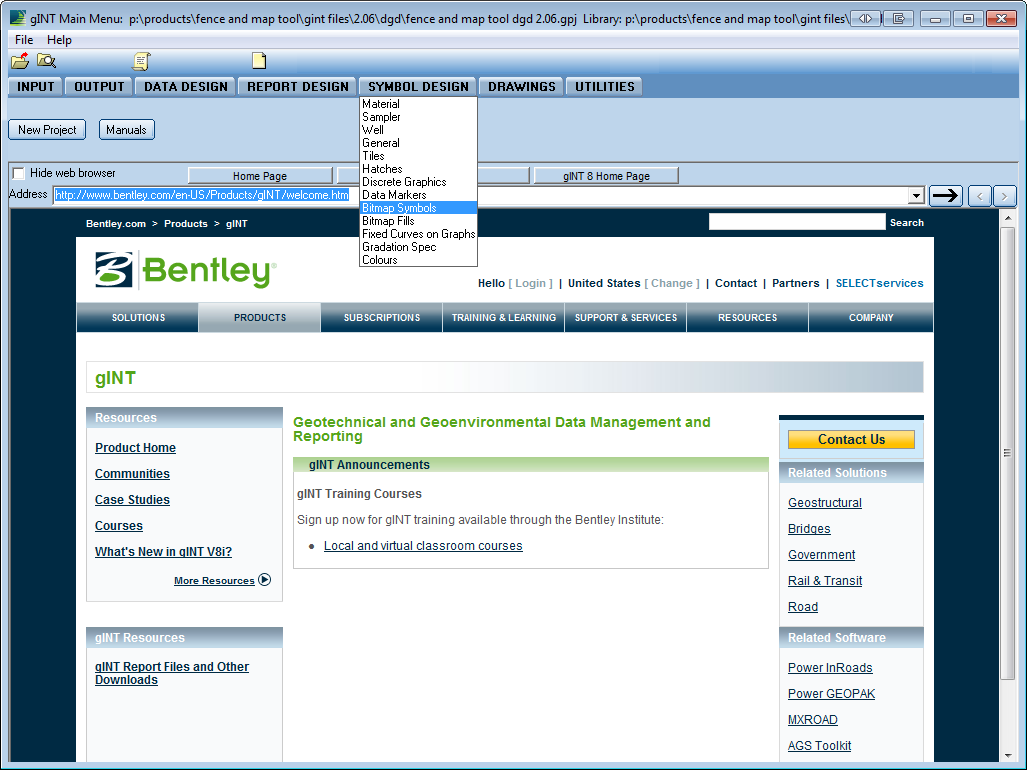
In gINT, open Symbol Design, then click the Bitmap Symbols tab.
Then look through the yellow drop-down box for a page either named ‘Logo’ or your company’s name.
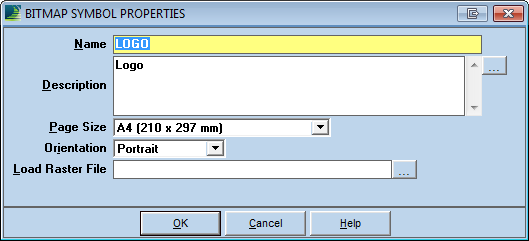
Select File > Page > Properties… (or press shortcut key F8) and click on the … next to Load Raster File. Then you just have to navigate to the image, select it then press OK.
You should then get a prompt asking whether you’d like to overwrite the existing image, press OK, Then click save to save your changes.
If you couldn’t find the page, that’s fine too. Instead, call the command File > New… then enter a name for your logo in the window. Click on the … next to Load Raster File, and select the logo image you wish to use.
gINT only accepts raster files for images. ( .jpeg, .exif, .tiff, .raw, .png, .bmp).
Also note, if you create a new logo page you’ll need to change the reference in your report block to use the new logo.
Related articles
There is no content with the specified labels


