Installation and Licensing
Installation Overview
There are four parts to the installation process:
- Install DLL program
- Merge gINT library objects
- Merge gINT project table objects to your project file and your data template
- Activate the product license
The first three steps can be performed in any order and are described below. The activation procedure must be done last and is described in the License System User Guide.
Package Contents
Your software purchase may have come with the following contents:
- ZIP download which normally has the following folders: \gINT Files, \Documentation and \Installation files
- A hardware license key
Before Installation
A few basic preparations can help ensure an effortless installation.
- Make sure that the computer where you plan to install the program meets the minimum hardware and software requirements.
- Connect your PC to Internet before installation (must have a working Internet connection).
The Monitoring Tool requires that the Microsoft .NET 4.8 framework is installed on the PC prior to the installation of the Tool. If your PC does not have this, then it will be automatically downloaded and installed during the Tool installation process.
- Log into the PC with Administrator privileges before starting installation.
- It is recommended that you exit out of other applications that maybe running on your PC.
- Close gINT before you start installation.
- Keep the serial number and license number handy.
Install DLL Programs
- Extract the ZIP download, and Browse to the folder \Installation Files
- Double click the file named DatgelMonitoringTool-#.#.#.#.exe
- Click Run to begin installation.
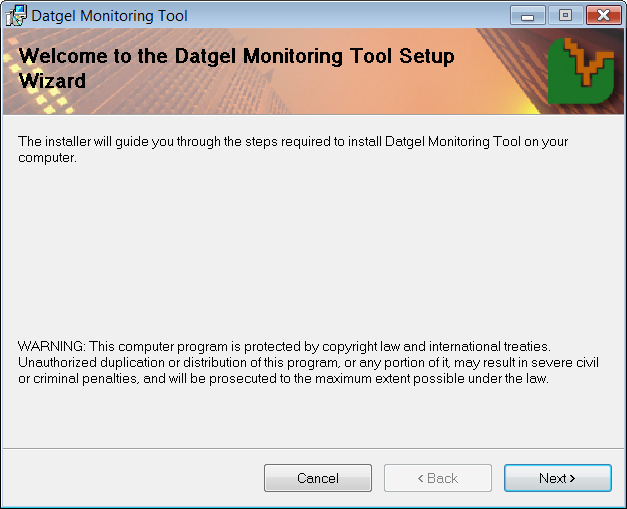
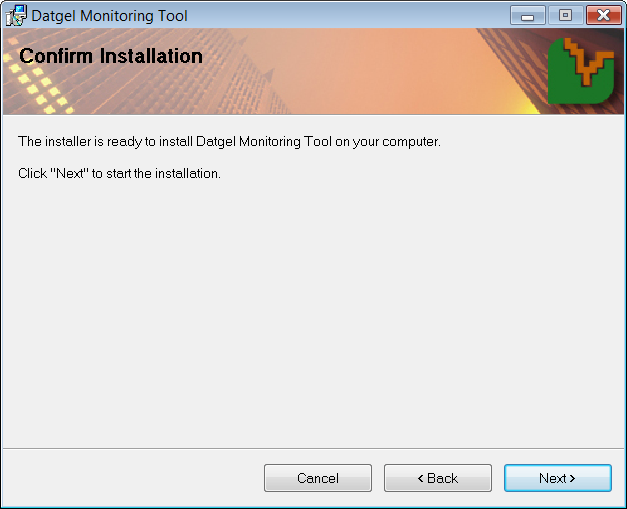
Follow the on screen instructions when installation begins: - Click Next on the Welcome to the Datgel Monitoring Tool Setup dialog.
- Scroll and carefully read the License Agreement, and choose option I Agree, and click Next.
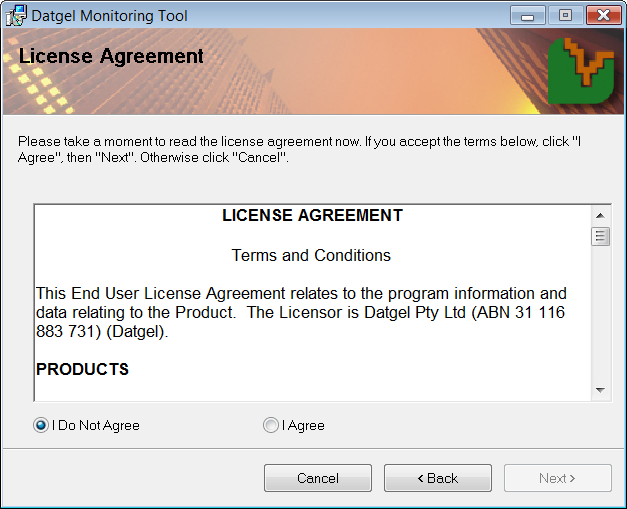
Alternatively choose I Do Not Agree and click Cancel if you disagree with the license agreement. The installation will stop and exit. - On the Select Installation Folder dialog, either accept the default folder (recommended) or select Browse to specify the folder where you want to install the Monitoring Tool Add-In.
Leave Everyone bulleted to indicate that anyone logged onto the PC can use the Monitoring Tool Add-In.
Click Next when ready.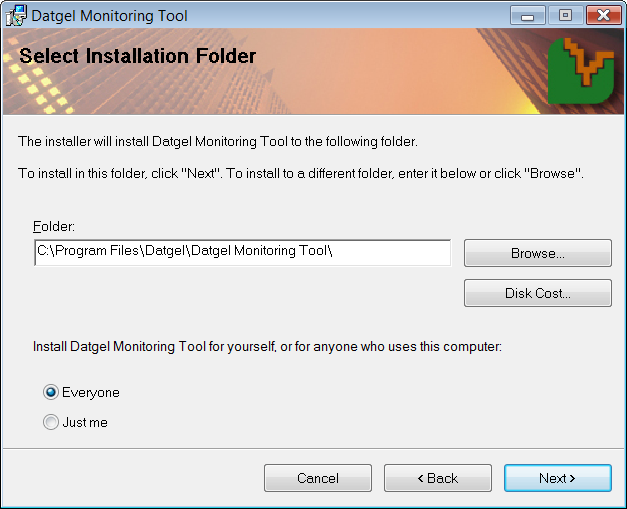
OPTIONAL Click on Disk Cost to view the disk space statistics. Click OK when done.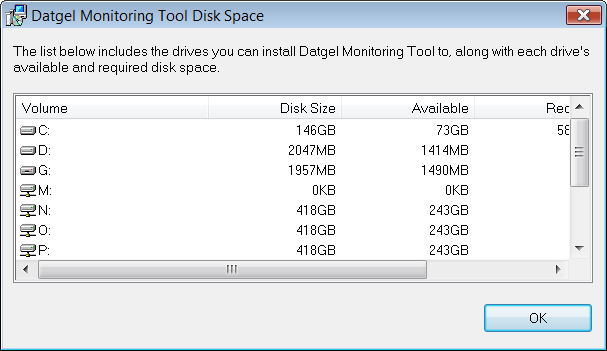
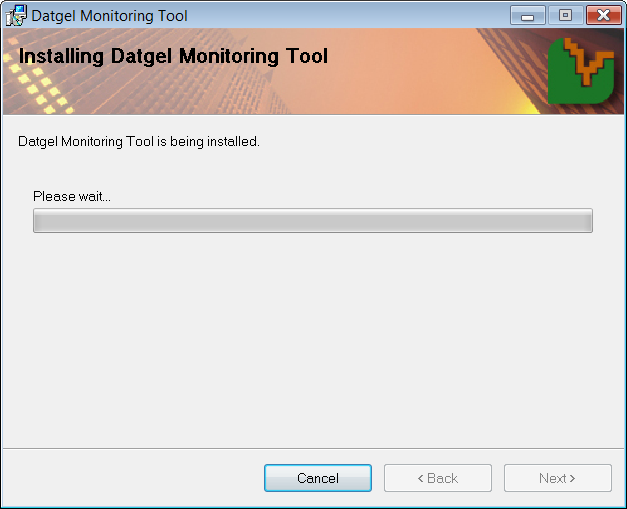
- Click Next to start installation.
- Observe the progress bar to monitor installation progress
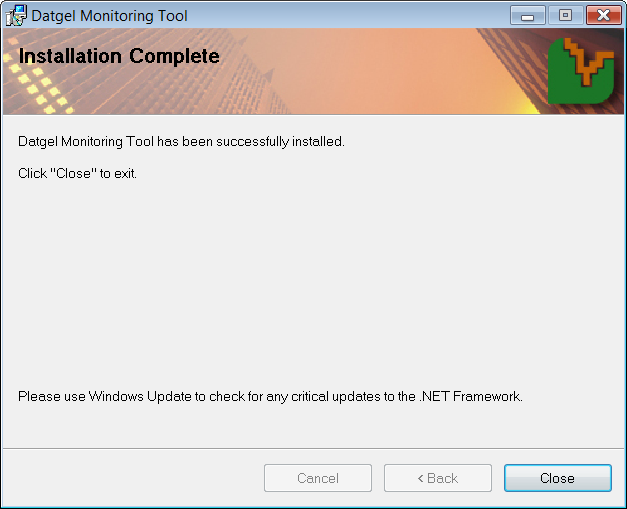
- Click Close when the Installation Complete dialog is displayed.
Merge gINT Library Objects
If you're in one of the following situations then proceed to Activate License.
- In the trial version of the Monitoring Tool, the library will be locked and you cannot merge any gINT Library Objects into your Library file, or make changes to this Library file. In this case, you have to use the locked library as-is.
- Steps Merge gINT Library Objects and Merge gINT Project Tables have already been completed by Datgel's developers, yourself or a colleague.
- You want to use the Monitoring Tool as a single product and do not need to merge into your current gINT Files (that is unusual).
If you don't have existing gINT files then you may wish to just use the example Monitoring Tool gINT Files provided in the ZIP download.
If you have purchased the Monitoring Tool gINT Add-In, then you have full access to the library objects, and you may proceed with the following steps to merge the gINT Library components into your Library file.
- Make a backup copy of your existing library file. By default this is located at:
C:\Users\Public\Documents\Bentley\gINTCL\libraries - Start gINT and open the library and project file you wish to use with Datgel Monitoring Tool gINT Add-In.
The opened project and library files are displayed at the top of the gINT Window.
- If you have a merged a previous version of the Monitoring Tool or you are merging into a DGD Tool gINT Files, first delete all object and tables that start with MON_ or DG_MON (includes project tables, user system data and reports) from your library and data template/project.
- Select UTILITIES | Lib Merge/Copy.
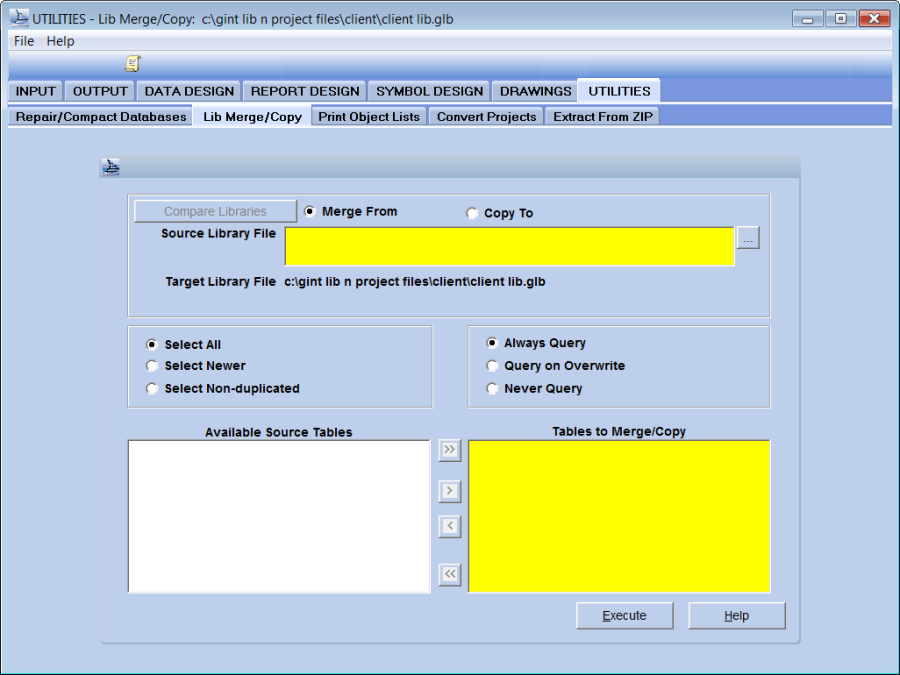
- Check the bullet that reads Merge From.
- In the Source Library File pane, browse the installation ZIP download for file Datgel Monitoring Tool lib #.##.glb where #.## is the version number.
- Check the bullet that reads Select All.
- Check the bullet that reads Always Query.
- Move all tables that start with DG_MON_* and at least the other tables in the screen shots, from the Available Source Tables pane on the left to the Tables to Merge/Copy pane on the right side. If you are not using the DGD Tool, you may need to merge almost all tables.

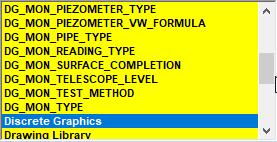
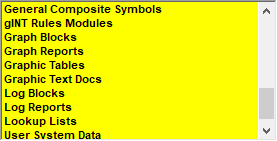
Overwrite the existing MON User System Data, Discrete Graphics and General Symbols only.
If you are using the DGD Tool, overwrite the gINT Rules Module if it is newer than the existing one in your gINT Files. - Click Execute. This process may take several minutes to complete.
Take care to read the overwrite dialog and click Yes if you wish to overwrite the file, ELSE click No.
This will merge in the lookup lists, Add-In menu item, and gINT Rules modules which are all related to the Tool. - Click OK to finish the merge.
- Merge Field Units, with select non-duplicate
Merge gINT Project Tables
- Make a backup copy of your existing project file. By default this is located at:
C:\Users\Public\Documents\Bentley\gINTCL\Projects - Start gINT and open the library and project file you wish to use with Datgel Monitoring Tool.
- Select DATA DESIGN | Project Database.
- Select File > Open File > Current Project… to open your current project file.
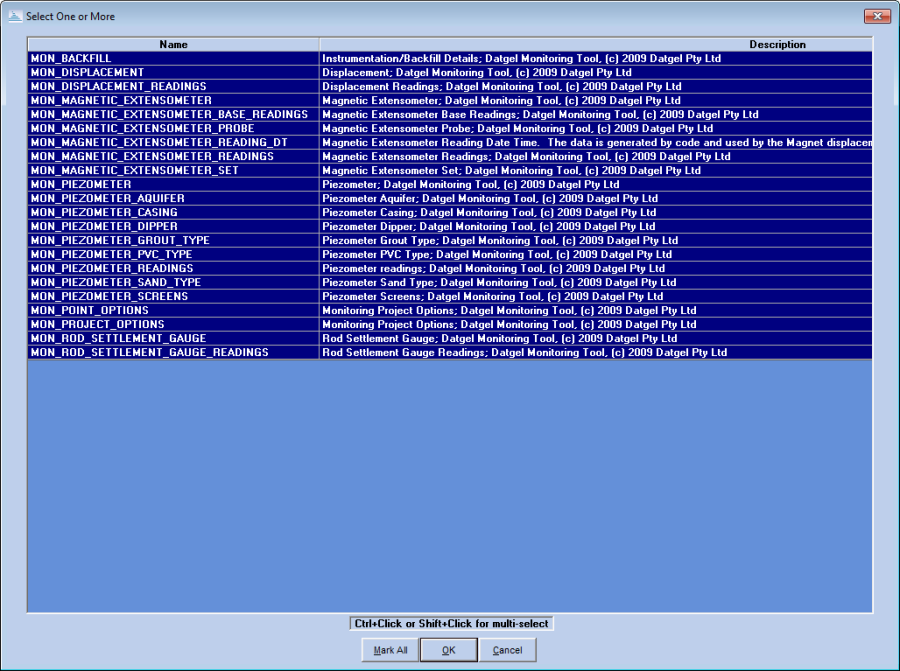
- Select Tables > Import Multiple Tables... then browse the installation ZIP download and select the file Monitoring Tool #.##.gpj
As a minimum, select the following tables that start with MON_* and click OK.
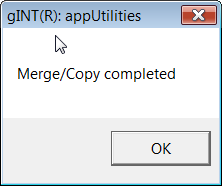
When prompted with a dialog box, similar to the one below, click OK. This will import predefined project table data that can be used during data entry.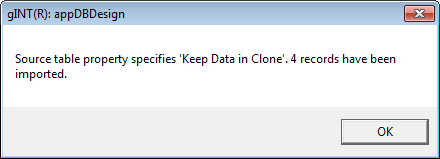
If you chose to edit the data and/or add to it, you will need to ensure that you update your data template so that any changes/additions are available in all future projects that are cloned from your data template.
The WATER_STRIKE, PROGRESS and ROTARY_FLUSH tables are associated with the operation of the Monitoring Tool but you may already have similar tables in your project file. However, these tables are referenced in the Log Report Blocks DG MON WELL INSTALLATION and DG FLUSH RETURN 7 MM and if you chose not to merge these tables then you may need to update the field references in these blocks to ensure that the Monitoring Tool works with your custom project database.
Configuring Logos in the Library
Import a new raster file
Logos images are managed from SYMBOL DESIGN | Bitmap Symbols. You can store many different logos here, each having its own page. Non logo images can also be stored here.
Make a new Bitmap Symbol
- Create a new page

- Enter the Name and Description.
- Using the Load Raster File browser, select the file you wish to import, and click OK.
Replace existing Bitmap Symbol with a new image
- Select the item from the object selector list
- Open Page Properties

- Using the Load Raster File, browser, select the file you wish to import, and click OK.
How to add a new Office
- If required, import the raster file as described in section Import a new raster file.
- Navigate to DATA DESIGN | Library Data, and open table DG_COM_OFFICE.
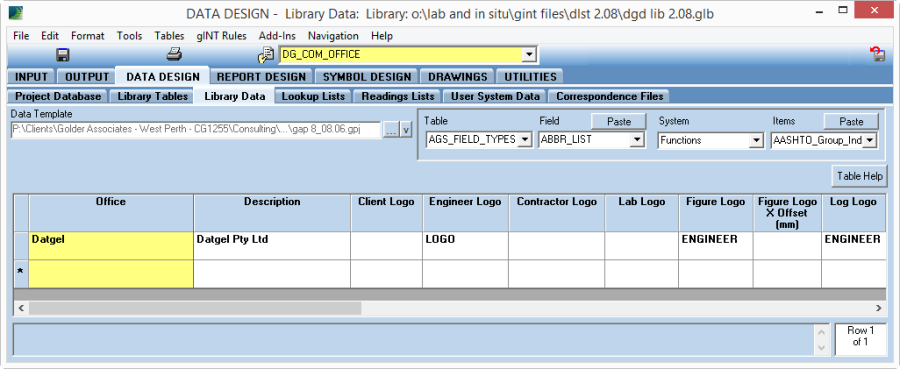
DG_COM_OFFICE - Make a new record and update the Office, Engineer_Logo, Figure_Logo, and Figure_Logo_X_Offset fields.
- Return to INPUT, and on the Project table select new item in the Office field. If you prefer to use the new office for your projects, set it as the field default, and make a new data template.
- Move to OUTPUT, and test that log and graph reports present the logo as desired. You might need to adjust the value for Figure_Logo_X_Offset to present the logo cantered in the figure title block box. Keep in mind that by default the logo will be offset by 2 mm.
Activate License
After installation (and before using the Monitoring Tool Add-in), activate the user license as described in License Administration.
You only need to activate this product when you run the Datgel Monitoring Tool in gINT for the first time.
gINT*.exe.config edits
The gINT*.exe.config files for gINT versions V8i and 10.# are edited by Datgel software during installation. When Datgel's software splash screen shows it checks the edits to gINT*.exe.config files are present, and if not it will attempt to apply the changes. If your user account doesn't have administrator rights you will be prompted to enter administrator credentials. Installing a new version of gINT will return the gINT*.exe.config file to its virgin state, hence Datgel's software will need to apply the edits again next time your run it.
If you experience any difficulties in applying this procedure please contact Datgel's support team.