Creating a New Unit System
Aim
In this tutorial, you will be creating a new unit system called SI_MPa, and apply the new system to our project database. This unit system is based on the units defined in AGS4.
Adding a new Unit System to the Lookup List
Go to DATA DESIGN | Lookup Lists tab, and select DG_COM_UNIT_SYSTEM from the yellow drop down list. Enter a new record at the bottom of the list.
Column Name | Value |
|---|---|
Text | SI_MPa |
Description | SI MPa |
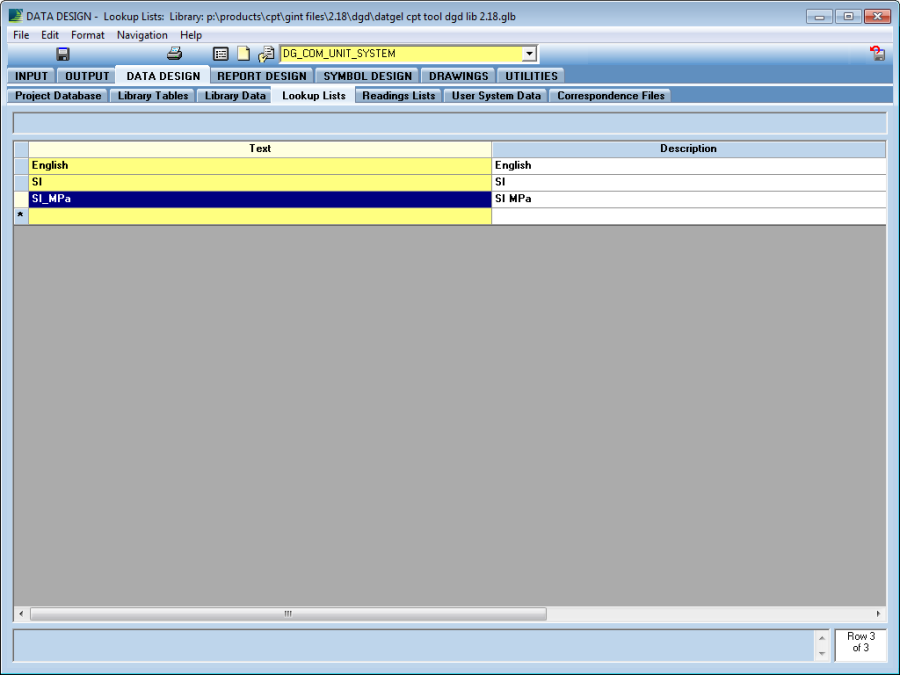
SI_MPa is the name of the new unit system, and all unit conversion configuration fields will be prefixed with this name.
Creating the new Configuration Fields
- Go to DATA DESIGN | Library Tables tab, and open the DG_CPT_FIELD_MAP table from the yellow drop down list.
Add a field for each row in the following table, by clicking on the New button near the bottom left of the window, and filling out the text fields.
Name
Type
Caption
Description
SI_MPa
Text
SI_MPa_FR_Minimum
Double
Minimum (SI_MPa)
Minimum field rules property value
SI_MPa_FR_Maximum
Double
Maximum (SI_MPa)
Maximum field rules property value
SI_MPa_FR_Decimals_Displayed
Integer
Decimals Displayed (SI_MPa)
Decimals Displayed field rules property value
SI_MPa_FR_Round_To_Nearest
Double
Round to Nearest (SI_MPa)
Round to nearest field rules property value
SI_MPa_FR_Format_Type
Text
Format Type (SI_MPa)
Format type field rules property value
SI_MPa_Default
Text
Default (SI_MPa)
Default field property value
- Set the Cell Colour to Field – Enter Data for all the fields created.
- Select the SI_MPa field, set the Lookup to Libtbl!field units, check the Must use Lookup and Allow additions in Input options.
- Select the SI_MPa_FR_Format_Type field, set the Lookup to Lookup!dg_com_fr_format_type and check the Must use Lookup option.
Your screen should appear similar to the following: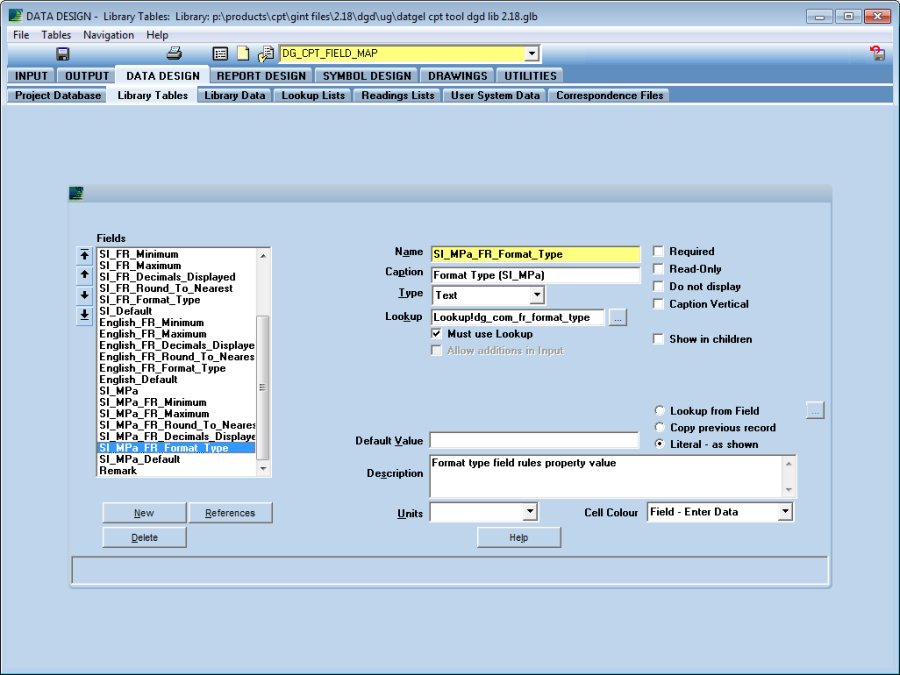
Populating the Configuration Fields
Go to DATA DESIGN | Library Data tab, and select DG_CPT_FIELD_MAP from the yellow drop down list.
The units in the SI unit system will be used as a basis to the SI_MPa unit system.
- Highlight all the cells in the SI field, and press Ctrl + C to copy the values to the Clipboard. Select the first cell in the SI_MPa column, and press Ctrl + P to paste the values to the column.
Change the value in the SI_MPa column for the following records:
Table Name
Field Name
SI MPa
Decimals Displayed (SI_MPa)
CPT_CONE_CALIBRATIONS
Area_Cone
cm2
0
CPT_DATA
Excess_pore_pressure
MPa
4
CPT_DATA
Filtered_Sleeve_Friction_Resistance
MPa
4
CPT_DATA
In_Situ_Pore_Pressure
MPa
4
CPT_DATA
Porewater_Pressure_1
MPa
4
CPT_DATA
Porewater_Pressure_2
MPa
4
CPT_DATA
Porewater_Pressure_3
MPa
4
CPT_DATA
Sleeve_Friction_Resistance
MPa
4
CPT_DISSIPATION_TEST_GENERAL
Corrected_Initial_Pore_Pressure
MPa
3
CPT_DISSIPATION_TEST_GENERAL
In_Situ_Pore_Pressure
MPa
3
CPT_DISSIPATION_TEST_GENERAL
Initial_Pore_Pressure
MPa
3
CPT_DISSIPATION_TEST_GENERAL
Maximum_Pore_Pressure
MPa
3
CPT_DISSIPATION_TEST_GENERAL
Minimum_Pore_Pressure
MPa
3
CPT_DISSIPATION_TEST_GENERAL
Pore_Pressure_Degree_Dissipation
MPa
3
CPT_DISSIPATION_TEST_READINGS
Friction_Resistance
MPa
3
CPT_DISSIPATION_TEST_READINGS
Porewater_Pressure_1
MPa
4
CPT_DISSIPATION_TEST_READINGS
Porewater_Pressure_2
MPa
4
CPT_DISSIPATION_TEST_READINGS
Porewater_Pressure_3
MPa
4
Validating the Configuration and Executing the Unit Conversion
Go to the INPUT tab, then select Add-Ins > Datgel CPT Tool > Unit Conversion. The following form will show:
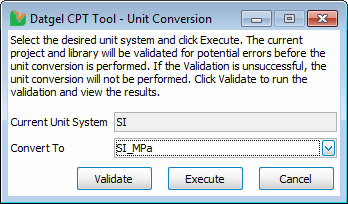
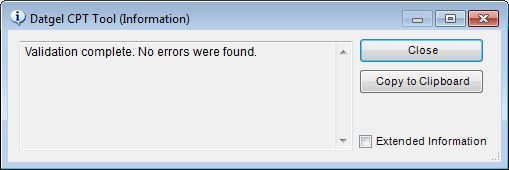
- Select SI_MPa from the Convert To pick list, then click Validate. If there are no problems with the configuration, you should see the following message form. Otherwise, a log report will display with a list of problems with the configuration. If there are problems, close the Unit Conversion form, correct the problems and return to the Unit Conversion form and repeat this step.
- Click on Execute to run the unit conversion. If you are running the unit conversion against a gINT project file (.gpj), a backup file with the extension of (.dbk) would have been made of the project file before the unit conversion is performed. You may rename this file to *.gpj if you wish to revert the unit conversion process.
The following screen should appear if the unit conversion process has been successful. Note that some of the field units will appear to have not updated. Close the gINT Project file and reopen the file, and the units will show correctly.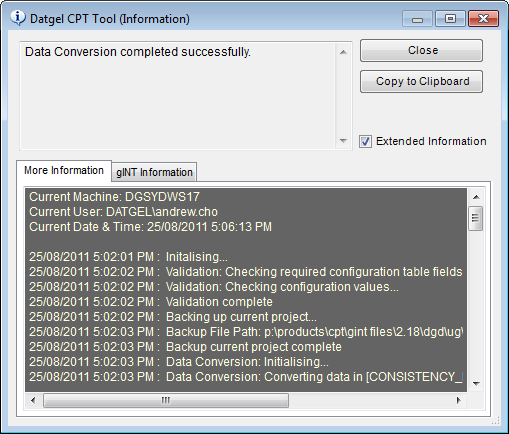
Close and reopen gINT. You should be able to see the changes to the field units, the values and the decimals displayed.