License Administration
Introduction
Any company that purchases Datgel products can manage licenses on an individual PC in two ways:
- From within gINT as described in the preceding sections of this manual.
- Using the Datgel License Administrator. This is automatically installed when you install a Datgel product. When you are managing Add-In licenses, Datgel License Administrator allows you to do this without opening gINT.
You can also install the Datgel Network Key License Server, which allows you host the network license, and also monitor and configure network license usage.
Validate licenses
- Select Start > All Programs > Datgel > Datgel License Administrator.
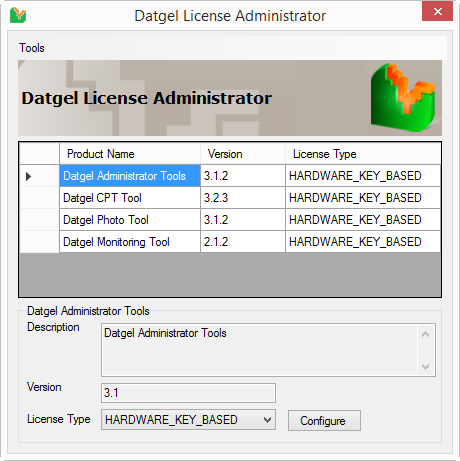
The list shows licenses currently available on your PC. - Attach the Hardware Key to your PC.
- To validate a license, select it in the list and click Configure.
Select the option for I have an active hardware key and need to enter or update the license number, serial number [or server name].
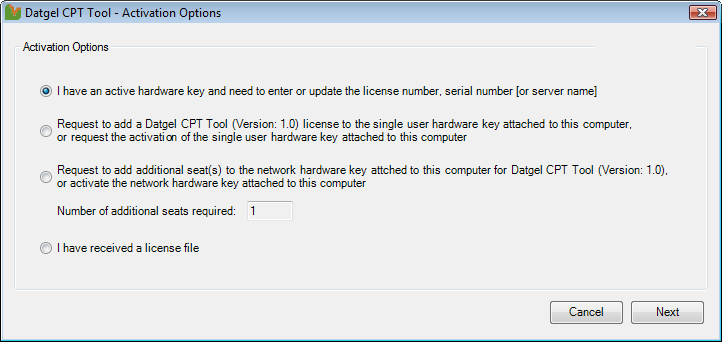
Click Next.
- Make any changes to the license and contact details as required.
- Click Save.

- Click Close.
Add Additional License Seats to your Network License
You can add additional license seats to your network license.
Step 1: send a request for additional license seats
- Select Start > All Programs > Datgel > Datgel License Administrator.
- Select HARDWARE_KEY_BASED as the license type and then click Configure.
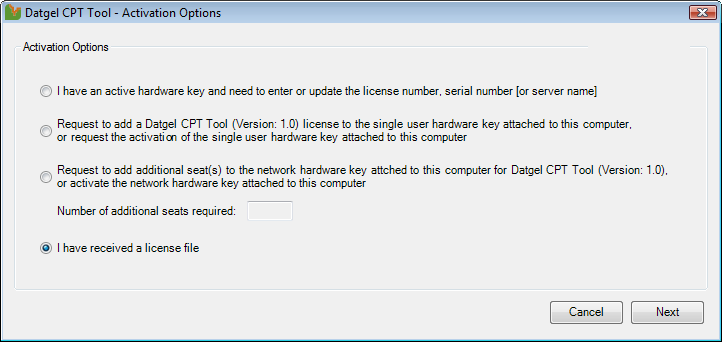
- Select the option Request to add additional seat(s) to the network hardware key attached to this computer for <Product Name> (Version: X.X) and enter a number in the Number of additional seats required: text field.
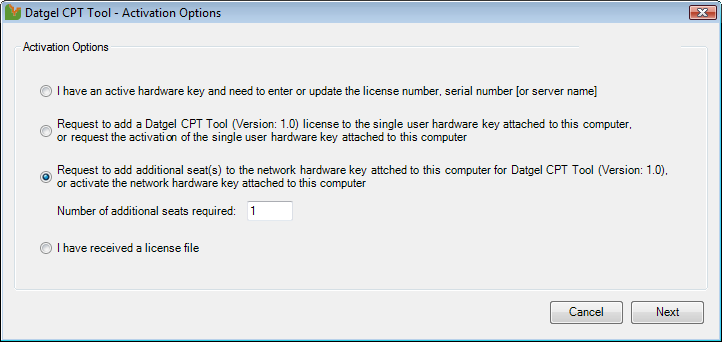
- Click Next.
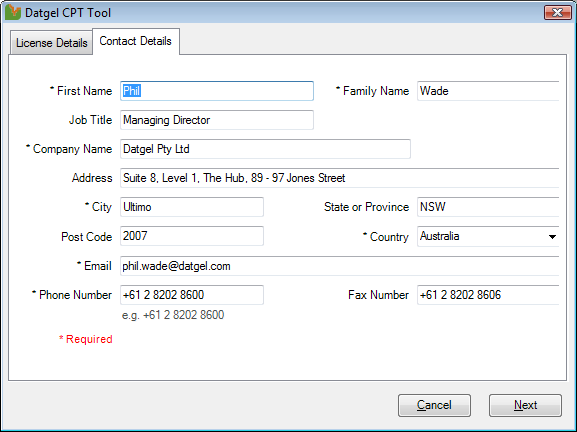
- Enter the relevant information in the Contact Details tab.
- Click Next.
If you do not have Microsoft Outlook installed on your PC, continue with step 7 below. If you do have Microsoft Outlook installed, go to step 10. - If you do not have Microsoft Outlook installed, you will be prompted to save the request file on your PC. Take note of the file path in case you need to find the file later.
Click Copy Attachment File to copy the file to your clipboard.
- Create a new email and attach the saved file.
- Send the email to activate@datgel.com.
- If you have Microsoft Outlook installed on your PC, then a new email is created automatically and the Hardware License request is inserted into it. Please write a description of your license request in the email.
Click Send in the Outlook message to complete the request.
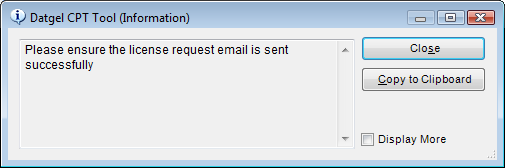
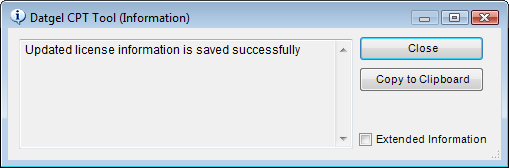
Datgel will process your request and send you a reply with an activation file, generally on the same day if the request is received on a business day during business hours. Otherwise Datgel will send you a reply on the next business day. - Click Close to confirm the licence request email has been sent successfully.
Step 2: update the Hardware Key
- You should have received an email with a URL address for an activation file. The activation file will be in the format of a ZIP file. Download the file to your local directory. DO NOT UNZIP THE FILE. If this file is password protected, then Datgel will advise you of the password in the email.
- From the Datgel License Administrator select Tools > Import License File. Proceed to step 4.
Alternatively from the Datgel License Administrator select the product row, then click Configure or from gINT INPUT Select Add-Ins > <Product Name>> Licensing. - Select option I have received a license file by email, and click Next.
- Click Browse to find the activation ZIP file, and click Open.
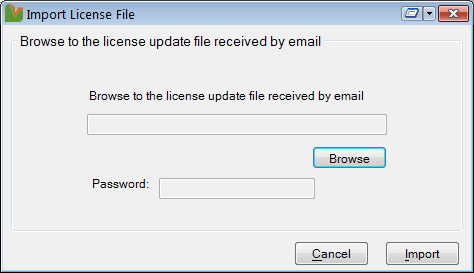
- Optional: if your activation email included a password, enter it in the Password field.
- Click Import on the Import License dialog. The process takes a few seconds.
If you do not have Microsoft Outlook installed on your PC, continue with step 7 below. If you do have Microsoft Outlook installed, go to step 10. - If you do not have Microsoft Outlook installed, you will be prompted to save the request file on your PC. Take note of the file path in case you need to find the file later.
Click Copy Attachment File to copy the file to your clipboard.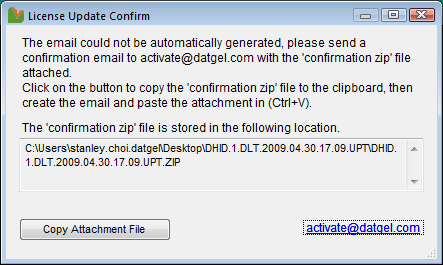
- Create a new email and attach the saved file.
- Send the email to activate@datgel.com.
- If you have Microsoft Outlook installed on your PC, then a new email is created automatically and the Hardware License request is inserted into it. Please write a description of your license request in the email.
Click Send in the Outlook message to complete the request.
Datgel will process your request and send you a reply with an activation file, generally on the same day if the request is received on a business day during business hours. Otherwise Datgel will send you a reply on the next business day. - Click Close to confirm the licence request email has been sent successfully.
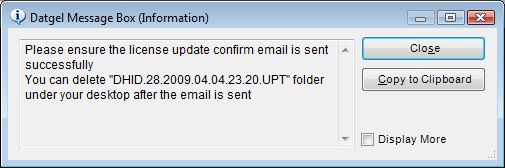
- You may now delete the temporary folder that was created on your desktop.

- Click Close.
- The number of license seats on your Hardware Key has now been updated.
Add product licences to a Single User Hardware Key
If you have purchased licenses for another Datgel Products, use this procedure to consolidate those licenses onto one Single User Hardware Key.
The Single User Hardware Key must be attached to the PC on which you will be performing these procedures. Only one Hardware Key can be updated with these steps at one time.
Step 1: install the new Product
Refer to the guide supplied with the Product.
Step 2: send a request for an activation file
- Select Start > All Programs > Datgel > Datgel License Administrator.
- From the Product Name pane, select the new product (Datgel Security Tool shown in the example below)
- From the License Type list, select HARDWARE_KEY_BASED.
- Click Configure.
- Select the option Request to add a <Product Name> (Version X.X) license to the single user hardware key attached to this computer, or request the activation of the single user hardware key attached to this computer .
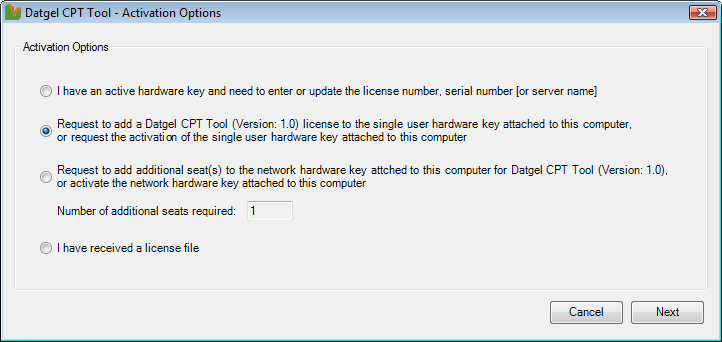
- Click Next.
- Enter the relevant information in the Contact Details tab.

- Click Next.
If you do not have Microsoft Outlook installed on your PC, continue with step 9 below. If you do have Microsoft Outlook installed, go to step 12. - If you do not have Microsoft Outlook installed, you will be prompted to save the request file on your PC. Take note of the file path in case you need to find the file later.
Click Copy Attachment File to copy the file to your clipboard.
- Create a new email and attach the saved file.
- Send the email to activate@datgel.com.
- If you have Microsoft Outlook installed on your PC, then a new email is created automatically and the Hardware License request is inserted into it. Please write a description of your license request in the email.
Click Send in the Outlook message to complete the request.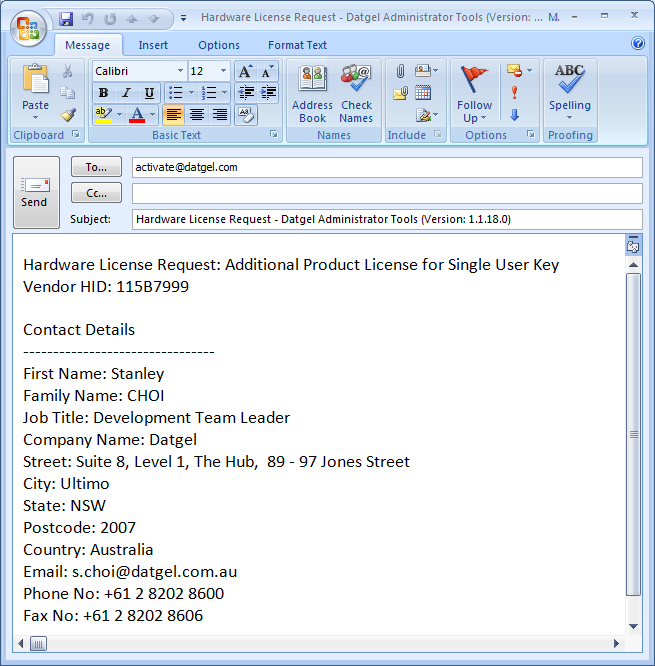
Datgel will process your request and send you a reply with an activation file, generally on the same day if the request is received on a business day during business hours. Otherwise Datgel will send you a reply on the next business day. - Click Close to confirm the licence request email has been sent successfully.

Step 3: update the Hardware Key
- You should have received an email with a URL address for an activation file. The activation file will be in the format of a ZIP file. Download the file to your local directory. DO NOT UNZIP THE FILE. If this file is password protected, then Datgel will advise you of the password in the email.
- From the Datgel License Administrator select Tools > Import License File Proceed to step 4
Alternatively from the Datgel License Administrator select the product row, then click Configure or from gINT INPUT Select Add-Ins > <Product Name>> Licensing. - Select option I have received a license file by email, and click Next.

- Click Browse to find the activation ZIP file, and click Open.

- Optional: if your activation email included a password, enter it in the Password field.
- Click Import on the Import License dialog. The process takes a few seconds.
If you do not have Microsoft Outlook installed on your PC, continue with step 7 below. If you do have Microsoft Outlook installed, go to step 10. - If you do not have Microsoft Outlook installed, you will be prompted to save the request file on your PC. Take note of the file path in case you need to find the file later.
Click Copy Attachment File to copy the file to your clipboard.
- Create a new email and attach the saved file.
- Send the email to activate@datgel.com.
- If you have Microsoft Outlook installed on your PC, then a new email is created automatically and the Hardware License request is inserted into it. Please write a description of your license request in the email.
Click Send in the Outlook message to complete the request.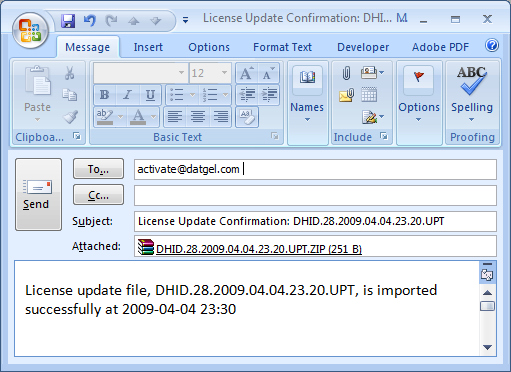
- Click Close to confirm the licence request email has been sent successfully.
- You may now delete the temporary folder that was created on your desktop.
- Click Close.

- The product license has now been activated on your Hardware Key.
Multiple Licenses
Each user can add multiple licenses for a given Datgel Product, with licenses sourced from different servers. This is useful where there is a preferred order of sourcing licenses, such as your local server, then your regional server, then a different regional server.
The order that licenses are listed in Datgel License Administrator is the order that they are tested to when it tries to acquire a license. However, this only affects the priority of selecting a Network Hardware Key – other types of key are always selected before a Network Hardware.
Use any of the procedures described in this guide to add new licenses.
Priority of license acquisition
If you have access to more than one license type for a particular product, Datgel License System chooses a license in the following priority:
- Single User Software Key
- Single User Hardware key
- Network Hardware Key (starting at the top of the list)
Network Hardware Key License sequence
- Select Start > All Programs > Datgel > Datgel Licence Administrator.
- Select HARDWARE KEY BASED as the license type and then click Configure.
- Alternatively, open gINT and navigate to INPUT | Add-Ins > <Product Name> > Licensing.
Select the option for I have an active hardware key and need to enter or update the license number, serial number [or server name].
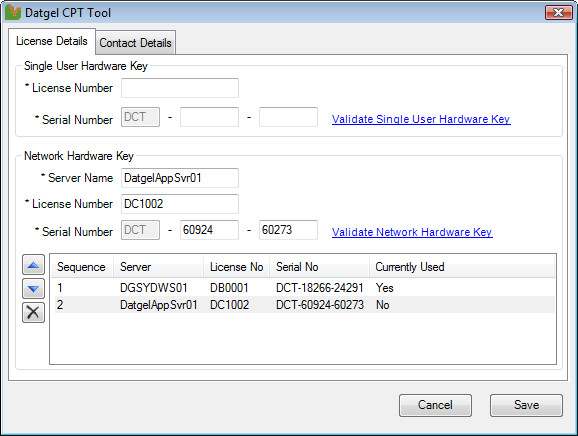
- The dialog shows two licences with their sequence numbers under the Network Hardware Key section.
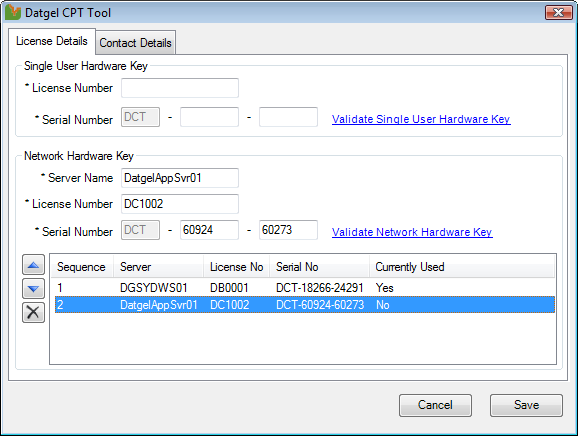
To move the second license (highlighted blue) to sequence 1, select the particular license and move it up (or down) the list as required. - Click Save.
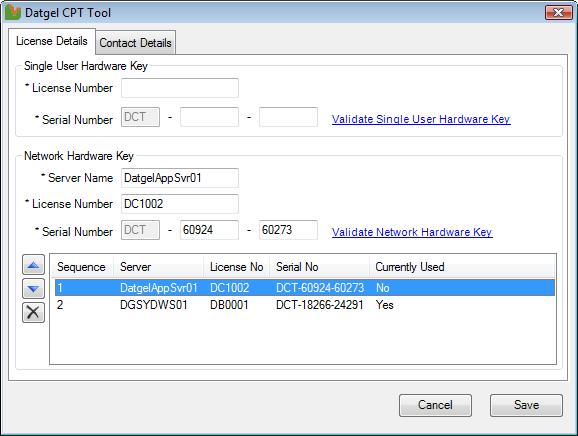
Click Close on the next dialog.
Position of DatgelAppSvr01 DC1002 has now moved to sequence 1.
Deploy license configuration to many PCs
If you have many PCs running Datgel Tools it can be a time consuming task to manually validate each PC for each product. The alternative approach is to do the configuration on one PC. Then copy all XML files in this folder C:\ProgramData\Datgel to the same location on all other PCs. The files could be deployed using group policies.