Web Application Installation
The steps in this section are done on a Windows Server machine on the same network as the client PCs that run gINT.
Installation Package
The WebApp Installation files folder contains the following files:
- dsteAPP.zip
- dsteDB.sql
- Lic.txt
Before Installation
The following must be installed in the target machine.
- Internet Information Service 7.0 or above
- .NET Framework 4.5.2 1 or above
Internet Information Services (IIS)
Ensure IIS is available on the target machine. Open browser and type localhost. An IIS screen would be shown signifying IIS is available. Otherwise, do the following.
- Go to Control Panel > Programs > Programs and Features > Turn Windows features on or off.
- Expand Internet Information Services, World Wide Web Services, and Application Development Features then enable all under it.
Deploy Application
Unzip \dsteAPP.zip at a desired location in the target machine. This would be the published folder to be mapped by IIS later.
- Launch IIS.
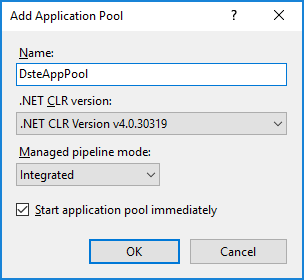
- Create a new Application Pool. Under left Connections pane, click on Application Pools then click Add Application Pool located under right Actions pane.
- Give it a name, e.g. DsteAppPool. Ensure v4.0.30319 is chosen for the .Net CLR version and Managed pipeline mode is set to Integrated. You may enable Start application pool immediately and click OK.
- Highlight the newly created Application Pool in the middle pane, then click Advanced Settings under the right Actions pane.
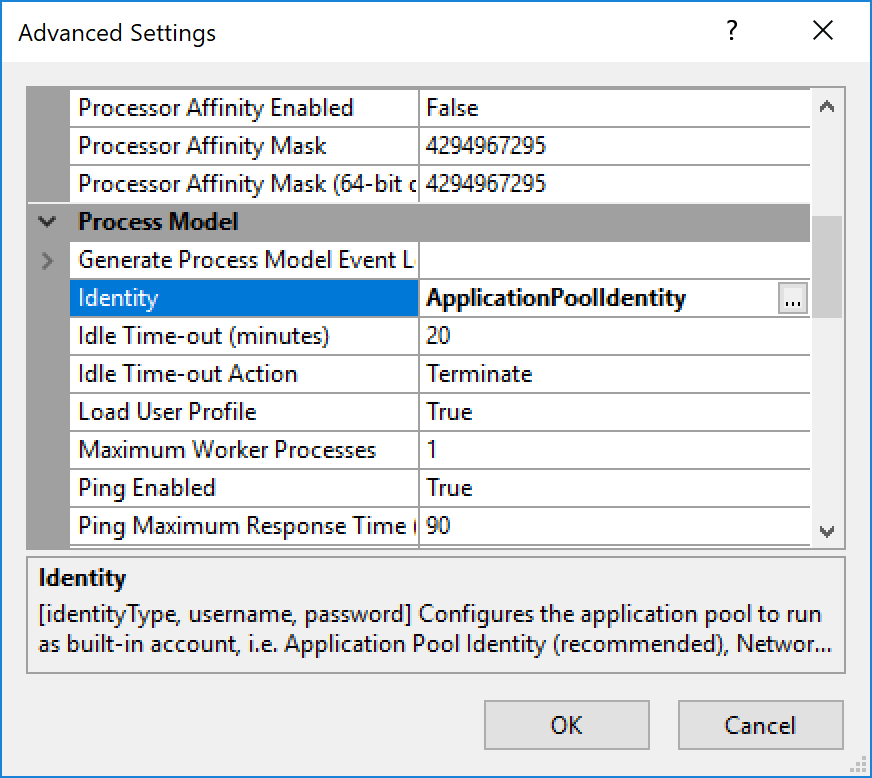
- Highlight the Identity property under the Process Model section, then click the ellipsis button at the far right.
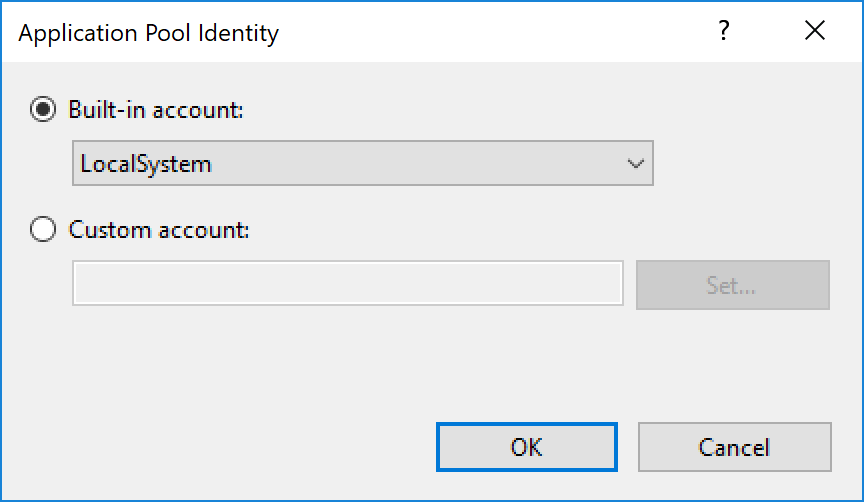
- Ensure that LocalSystem is chosen for Built-in account, then hit OK including the parent Advanced Settings window after.
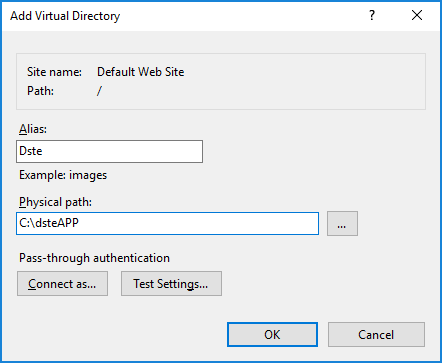
- Back to left Connections pane, expand Sites right-click Default Web Site and click Add Virtual Directory.
- Give an Alias e.g. Dste and point the Physical Path to the published folder. Click OK including the following screen after.
- Now right click on the newly created virtual directory menu (bearing alias name given in the previous step) located under Default Web Site and click Convert to Application.
- Ensure that the Application pool is set with the one recently created otherwise set accordingly under Select next to it then proceed with OK. Observe that the menu icon has now been changed into an icon with a blue globe denoting converted to the application.

- Right click on the same menu (now converted to the application with a blue globe icon) and click Edit Permissions. Go to Security tab and click Edit. Add Authenticated Users under Group or User names then allow Read & execute, List folder contents and Read. Click Apply, OK then Done in the following screen after.
Configure Database
Launch SQL Server Management Studio (SSMS), and connect the instance that will host the gINT database(s).
- Create a blank new database Datgel.SecurityToolEnterprise and run the \dsteDB.sql script.
- Create a new SQL Server login and user for the newly created database e.g. dsteweb granted with bulkadmin and sysadmin server role. Note that this credential will need to be updated in the Web.config file later. This would be the application login and must be kept confidential at all times.
- Ensure SQL Server and Windows Authentication mode is enabled under server properties. Test both target SQL Server instance and Datgel.SecurityToolEnterprise database is accessible using the newly created SQL Server login.
Configure Web.config File
Locate Web.config file under application root directory and open for edit.
- Locate <connectionStrings> section and update the highlighted accordingly under connectionString. This is the main database connection string used by the application.
<connectionStrings>
<add name="SecurityToolEnterpriseContext_Sql_local" connectionString="data source=10.100.10.5\development;initial catalog=Datgel.SecurityToolEnterprise;user id=dsteweb;password=Pwd456!;MultipleActiveResultSets=True;App=EntityFramework" providerName="System.Data.SqlClient"/>
- Launch DomainProperty.exe and hit Get LDAP Connection String.
- Locate <connectionStrings> section and replace the generated LDAP string of client domain inside connectionString of ADConnectionString.
<connectionStrings>
<add name="ADConnectionString" connectionString="LDAP://DGAZSV01.datgel.cloud:389/DC=datgel,DC=cloud"/>
</connectionStrings>
- Now based on the previous connectionString, locate again <appSettings> section and update both the AdDirectoryEntryPathUser and AdDirectoryEntryPathGroup accordingly. This is used to filter for Users and Groups in target Active Directory which may vary based on the schema of the Active Directory been configured and must be defined accordingly.
<appSettings>
<add key="webpages:Version" value="3.0.0.0"/>
<add key="webpages:Enabled" value="false"/>
<add key="ClientValidationEnabled" value="true"/>
<add key="UnobtrusiveJavaScriptEnabled" value="true"/>
<add key="AdDirectoryEntryPathUser" value="LDAP://DC=datgel,DC=cloud"/>
<add key="AdDirectoryEntryPathGroup" value="LDAP://DC=datgel,DC=cloud"/>
License Application
- Rename \Lic.txt file extension into \Lic.bat
- Right click file and hit Run as administrator.
Initial Configuration
The application supports both Active Directory and SQL Server authentication.
- Open browser and launch application.
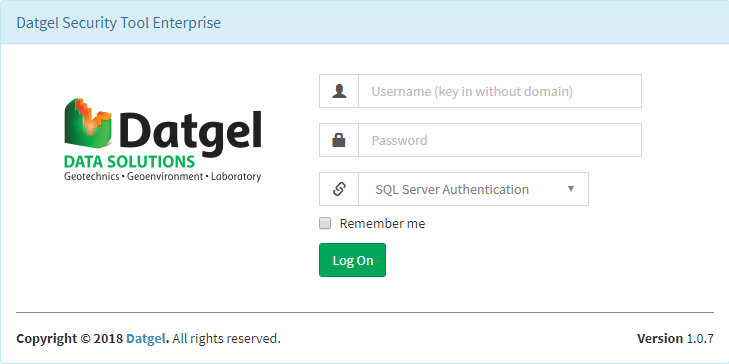
- Based on the credentials set in Web.config file, key in the credentials accordingly at login screen. Ensure that SQL Server Authentication is chosen then click Log On.
- Both the dste.Instance and dste.GintDatabase configuration tables will be initialized once successfully logged in.
- A user with administrator rights gets created by default under Global Lists > Security Object. This credential is meant for initial setup and it is recommended that further subsequent changes is to be made by creating other users assigned with administrator rights.
- Initial configuration can now be set up under Configuration menu at this point.
- Once configured, proceed to Database and Project menu and set configuration for the instance level.
- The gINT Databases grid will now get populated with all gINT databases available in the server.
- Next select the target gINT database. The dste.Project configuration table will be initialized at this point and display the related projects under adjacent gINT Projects grid.
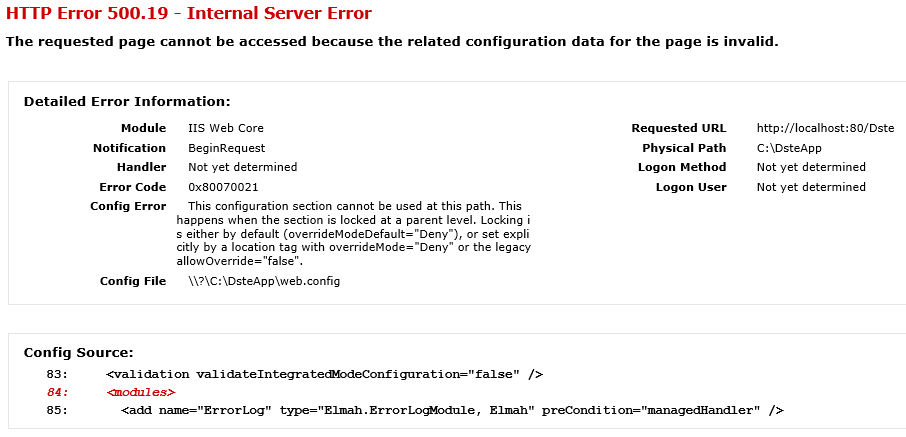
Troubleshoot
The requested page cannot be accessed because the related configuration data for the page is invalid.
- Launch IIS.
- Under Connections pane, select target application.
- Access Configuration Editor under Management section in Features View at middle pane.

- Select modules under system.webServer for Section combo list, then select ApplicationHost.config <location path='Default Web Site/<Application alias>' for From combo list.
- Click Unlock Section under right most Actions pane.
- Restart IIS.
The Web server is configured to not list the contents of this directory.

- Launch Add Roles and Features.
- Step through to Server Roles.
- Expand Application Development under Web Server
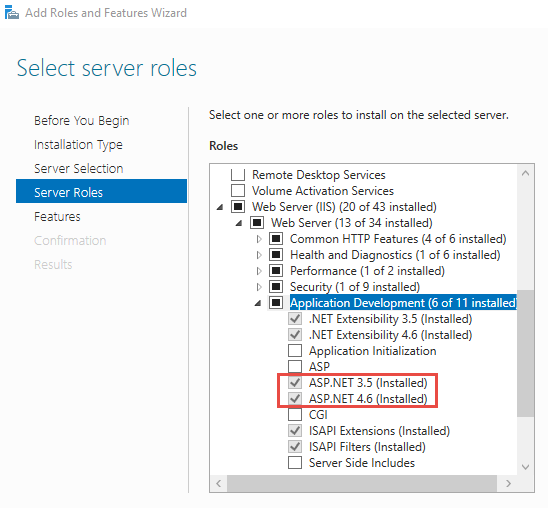
- Enable ASP.NET 3.5, then hit Install on the next screen after.
- Enable ASP.NET 4.6, then hit Install on the next screen after.
- Close window once installation has succeeded.
- Restart IIS.