Installation and Licensing
Installation Overview
There are three parts to the installation process:
- Install DLL programs
- Merge gINT library objects
- Validate the product license
The first two steps can be performed in any order and are described below. The validation procedure must be done last and is described in the Datgel Product Licensing System User Guide..
Package Contents
Your software purchase may have come with the following contents:
- A zip package download from datgel.com which normally has the following folders:
- \gINT Files
- \Documentation
- \Installation files
- A USB hardware license key
Before Installation
A few basic preparations can help ensure an effortless installation.
- Make sure that the computer where you plan to install the program meets the minimum hardware and software requirements.
- Connect your PC to the Internet before installation (must have a working Internet connection).
- The Output Tool requires that the Microsoft .NET 4.5.1 framework is installed on the PC prior to the installation of the Tool. If your PC does not have the .NET 4.5.1 framework installed, then it will be automatically downloaded and installed during the Tool installation process.
- Log into the PC with Administrator privileges before starting installation.
- It is recommended that you exit out of other applications that maybe running on your PC.
- Close gINT before you start installation.
- Keep the serial number and license number handy.
- Unzip the package downloaded from datgel.com.
Install DLL Programs
- Browse to the folder \Installation Files.
- Double click the file named Setup.exe.
- Click Run to begin installation. Follow the on screen instructions when installation begins.
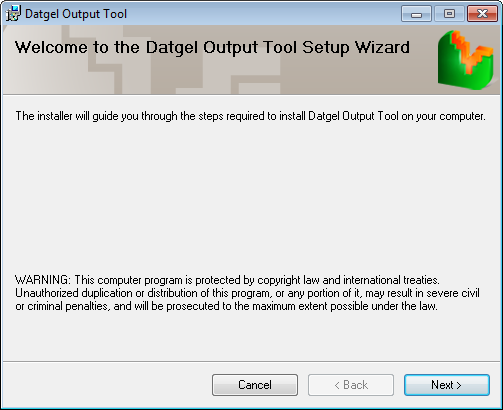
- Click Next on the Welcome to the Datgel Output Tool Setup dialog.
- Scroll and carefully read the License Agreement, and choose option I Agree, and click Next.
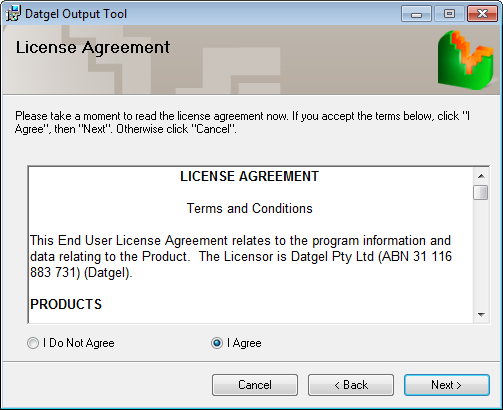
Alternatively choose I Do Not Agree and click Cancel if you disagree with the license agreement. The installation will stop and exit. - On the Select Installation Folder dialog, either accept the default folder (recommended) or select Browse to specify the folder where you want to install the Output Tool. Leave Everyone bulleted to indicate that anyone logged onto the PC can use the Output Tool. Click Next when ready.
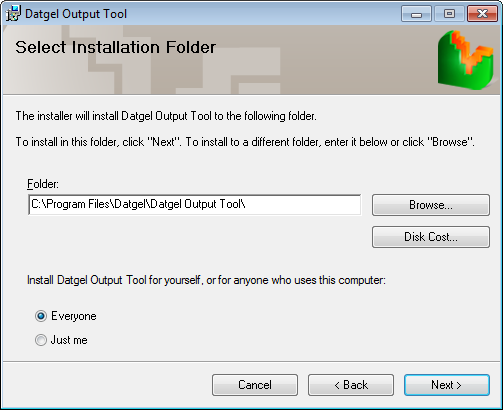
OPTIONAL Click on Disk Cost to view the disk space statistics. Click OK when done.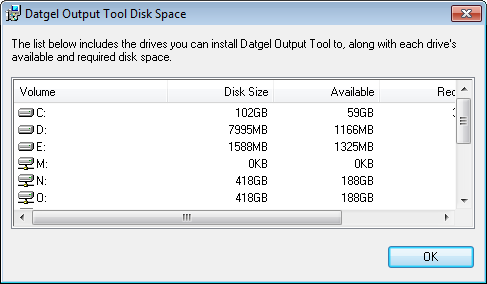
- Click Next to start installation.
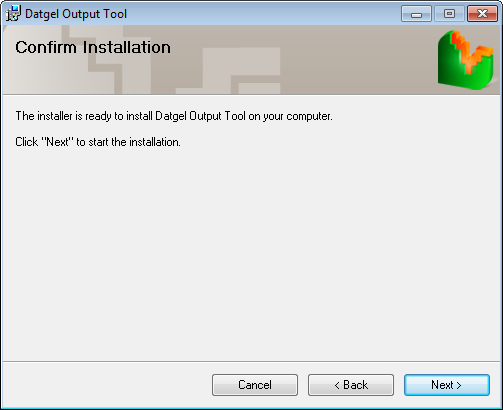
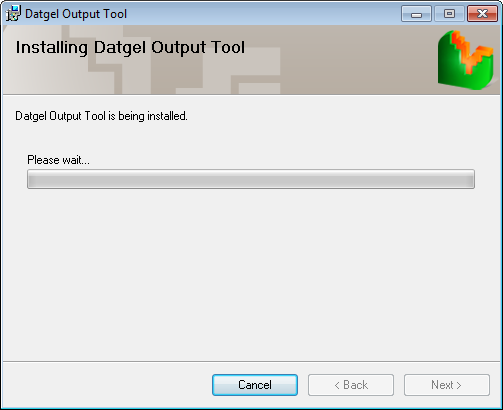
- Observe the progress bar to monitor installation progress
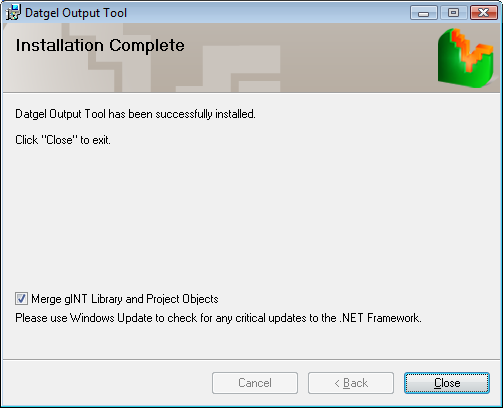
- When the Installation Complete dialog is displayed you have the choice to initiate the merging of gINT library objects after you click close by checking the Merge gINT Library and Project Objects check box. Click Close.
Merge gINT Library Objects
If Step Merge gINT Library Objects has already been completed by Datgel's developers, yourself or a colleague, then proceed to section Validate License.
If you have not merged the current version of the library objects on your current Computer, then the Datgel Output Tool gINT Object Installer form will display. Conversely, if you have previously merged the gINT Library objects the form will not appear; you will be prompted to open gINT, and should proceed to section Validate License.
The gINT Object Installer can also be called from Windows Start > All Programs > Datgel > Datgel Output Tool gINT Object Installer.
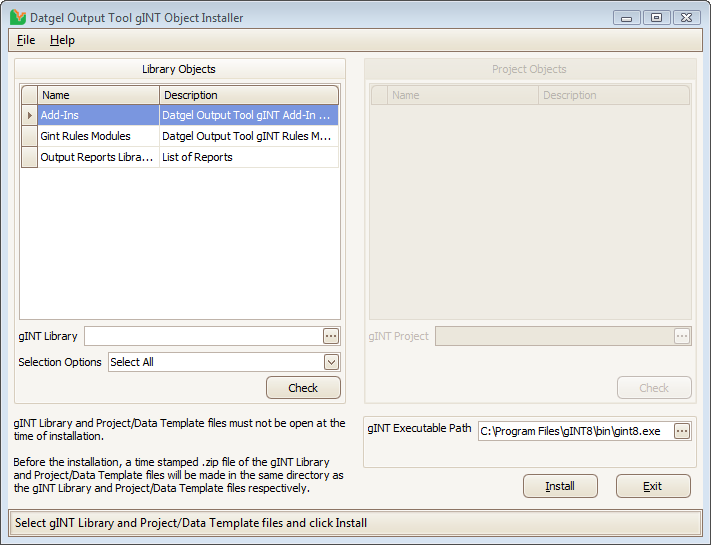
- Ensure you have gINT closed, and no other user has your company's custom library open.
- Click on the gINT Library browse button
 and open your company's custom library that you wish to use with the Output Tool. A backup zip of your custom library will be made in the same folder.
 - Click Install. The new library tables will be copied to your library file, and other library objects will be merged via a gINT script.
Validate License
After installation (and before using the Output Tool), validate the user license as described in Validate License..
You only need to validate this product when you run the Datgel Output Tool in gINT for the first time.
Upgrading from a previous version to Version 3.1
Considering the Tool is independent of the project files and tables, it is a simple task to upgrade to version 3.1.
- Delete existing Add-In commands related to the Administrator tools from INPUT | gINT Rules > Add-Ins Manager.
- If there are gINT Rules modules named Output Tool, delete them from INPUT | gINT Rules > gINT Rules Code.
- Merge the new gINT Library Objects into your library file as described in Merge gINT Library Objects. Overwrite existing objects.
- Datgel will email you a URL for the license update file. Download the file, but do not unzip the file. Follow Update the Network Hardware Key or Update the Single User Hardware Key to update your hardware key to be licensed for version 2.
Product Compatibility Upgrade
This upgrade is necessary if you install a new Datgel product after February 2015, and also have an existing Datgel product from prior to February 2015. The change is necessary as a result of changes to the Microsoft.NET framework.
There are two scenarios, based on your system privileges.
Scenario 1: you do not have privileges to do the upgrade.
The following message is displayed after starting a Datgel product.
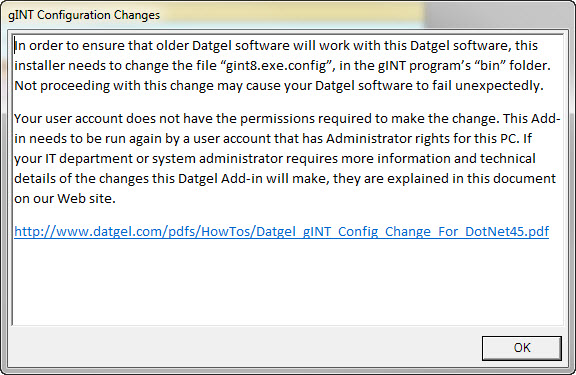
- Click OK.
- Advise your system administrator that the upgrade is needed.
Note: You might be able to continue working without the upgrade, but the products could be unreliable
Scenario 2: you do have privileges to do the upgrade.
The following message is displayed after starting a Datgel product.
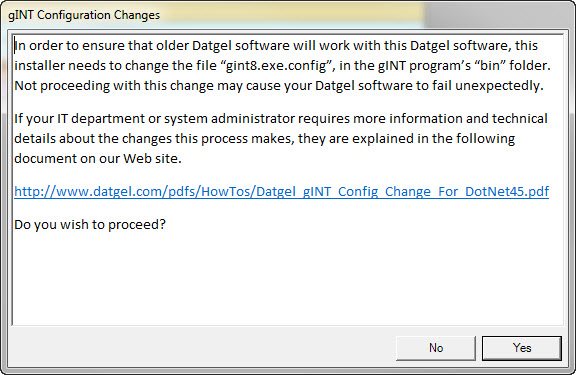
- Click Yes.
The procedure must be completed by a user that has administrative privileges for the PC.
The software makes a backup copy of the existing gINT configuration file and inserts the changes Datgel software needs.
The following message is displayed if the process completes successfully.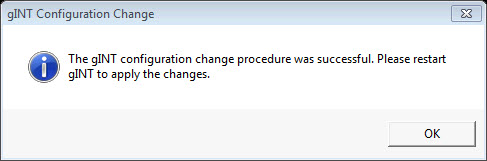
- Click OK.
- Restart gINT.
If you experience any difficulties in applying this procedure please contact Datgel's support team.